Custom Photo Pillows: Resolution, Cropping & Color Tips for Perfect Prints
Learn the essential photo preparation tips for custom pillow printing, including minimum resolution requirements, cropping techniques for different pillow shapes, and color matching from screen to fabric.
Camille Dupont
Senior Designer at RareCustom. Camille guides customers on photo resolution, cropping techniques, and color accuracy to ensure perfect custom photo pillow prints.
A custom photo pillow is only as good as the image you start with. You can choose the finest fabric, the most advanced printing method, and the perfect pillow size — but if your source photo is blurry, poorly cropped, or color-shifted, the finished product will disappoint. The good news is that preparing your photos for custom pillow printing is straightforward once you understand a few key principles.
This guide covers everything you need to know about photo resolution, cropping, color accuracy, file formats, and common mistakes to avoid. Whether you are printing a single portrait pillow or designing a multi-photo collage, these tips will help you get crisp, vibrant results every time. If you are creating a pet portrait pillow, our custom pet pillow ideas guide has additional species-specific photography tips.
Minimum Resolution Requirements by Pillow Size
Resolution determines how sharp your printed image will look on fabric. The standard for high-quality fabric printing is 150 DPI (dots per inch) at the final print size. Unlike paper printing which benefits from 300 DPI, fabric's natural texture means 150 DPI produces excellent results with no visible pixelation.
16×16 inch pillow: Minimum 2,400 × 2,400 pixels (5.8 megapixels). Most smartphone cameras from 2020 onward easily exceed this resolution. Even older phones with 8MP cameras produce files large enough for this size.
18×18 inch pillow: Minimum 2,700 × 2,700 pixels (7.3 megapixels). Still well within smartphone range. This is the most popular custom pillow size and works with virtually any modern phone photo.
20×20 inch pillow: Minimum 3,000 × 3,000 pixels (9 megapixels). Comfortable for any phone from the last five years. If you are using an older phone, avoid heavy cropping which reduces your effective resolution.
12×20 inch lumbar pillow: Minimum 1,800 × 3,000 pixels (5.4 megapixels). The rectangular aspect ratio means landscape-oriented photos work better than portraits for lumbar pillows without heavy cropping.
20×54 inch body pillow: Minimum 3,000 × 8,100 pixels (24.3 megapixels). Body pillows require very high-resolution source images or panoramic photos. Collage layouts work well here because individual photos can be smaller when arranged across the surface.

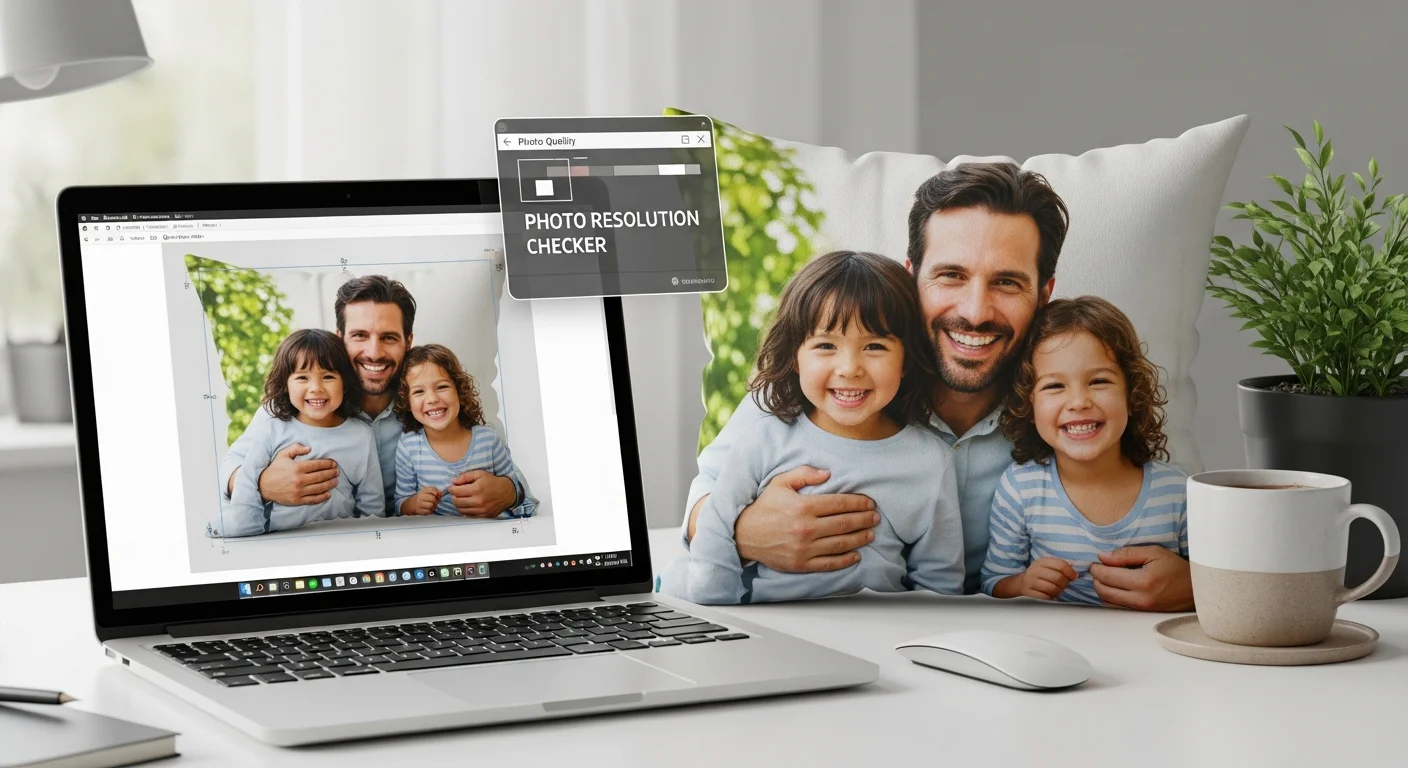
A practical rule of thumb: if your image looks sharp when you zoom in to 100% on your computer screen, it will print well on a pillow. If you see blocky pixels or blurriness when zoomed in, the resolution is too low. Our online design tool automatically checks your image resolution and warns you if the quality is insufficient for your selected pillow size.
How to Crop Photos for Square vs Lumbar Pillows
Most photos are rectangular (4:3 or 16:9 aspect ratio), but the most popular pillow sizes are square (16×16, 18×18, 20×20). This means cropping is almost always necessary, and how you crop determines which parts of your photo are visible on the finished pillow.
For square pillows: Center your subject in the frame and crop equally from both sides. If you are printing a portrait, position the face in the upper third of the square and allow some space above the head. Avoid cutting off chins, ears, or the tops of heads — leave breathing room around your subject.
For lumbar pillows (12×20 or similar): Landscape photos work naturally without awkward cropping. For portraits, consider placing the subject off-center with a complementary background filling the extra horizontal space. Group photos actually work better on lumbar pillows than square ones because the wider format fits more people without squishing.
For body pillows (20×54): Panoramic photos, repeating patterns, or collage layouts work best. A single portrait stretched across a body pillow will look distorted. Instead, create a montage of several photos or use a panoramic landscape shot that naturally fills the elongated format.

Before finalizing your crop, preview it at the actual pillow dimensions in our design tool. The preview shows exactly how your photo will appear on the finished pillow, including any areas that wrap around the edges. Allow at least half an inch of non-critical image area on all sides to account for the seam allowance.
Color Matching from Screen to Fabric
One of the most common surprises with custom photo pillows is that colors on the finished product look slightly different than they appeared on your screen. This is not a defect — it is physics. Your screen emits light (RGB color model) while printed fabric reflects light (CMYK color model). Some color shift is unavoidable, but you can minimize it with proper preparation.
Bright neon colors: Highly saturated neon greens, electric blues, and hot pinks on screen will appear slightly more muted on fabric. The CMYK color gamut simply cannot reproduce the most extreme RGB values. If your design relies on neon colors, expect them to be vivid but not as blindingly bright as they appear on screen.
Dark colors and blacks: Very dark areas of photos tend to print well on fabric because sublimation ink saturates the fibers deeply. Pure black on screen translates to rich, dense black on fabric — sometimes even darker than expected.
Skin tones: Skin tone accuracy is critical for portrait pillows, especially custom face pillows. Most professional pillow printers use ICC color profiles calibrated for natural skin tones. Avoid applying heavy Instagram-style filters to photos you plan to print — the filters can shift skin tones in unpredictable ways when translated to fabric.
White areas: White in your design will take on the color of the fabric itself. On white polyester, this is a perfect match. On natural cotton or linen, whites will appear slightly warm or cream-toned. If pure white is important to your design, choose a white polyester base fabric.

Best Photo Editing Apps for Pillow Designs
You do not need professional design software to prepare photos for custom pillow printing. Several free and affordable apps can handle the essential tasks of cropping, brightness adjustment, and resolution checking.
Snapseed (Free, iOS/Android): Google's free photo editor handles crop, brightness, contrast, sharpness, and white balance adjustments. The selective editing tool lets you brighten specific areas — useful for bringing out detail in shadowed faces. Export at maximum quality for the best print results.
Adobe Lightroom Mobile (Free with limitations, iOS/Android): The gold standard for photo color correction. The white balance, tone curve, and HSL sliders give you precise control over how colors will translate to print. The free version handles everything you need for pillow photo prep.
Canva (Free/Pro, Web/Mobile): Excellent for creating collage layouts, adding text overlays, and combining multiple photos into a single pillow design. The custom dimensions feature lets you set up your canvas at the exact pillow size. Export as PNG at the highest resolution available.
Photoshop (Paid, Desktop): The most powerful option for advanced editing, compositing, and resolution management. Use Image > Image Size to check and adjust resolution. The Content-Aware Fill tool can extend backgrounds when your photo does not quite fill the pillow dimensions.
GIMP (Free, Desktop): A free Photoshop alternative that handles all the same tasks. Scale Image shows your resolution, and the crop tool lets you set exact aspect ratios. The learning curve is steeper than mobile apps but the capabilities are comparable to Photoshop for photo preparation.
Common Photo Mistakes and How to Fix Them
After printing thousands of custom photo pillows, these are the mistakes we see most frequently — and the fixes that save your order from disappointment.
Mistake 1: Using a screenshot instead of the original photo. Screenshots from social media (Instagram, Facebook, text messages) are compressed to low resolution, typically 1080 pixels wide or less. This is fine for a phone screen but produces blurry prints on anything larger than a 7-inch pillow. Always use the original photo file from your camera roll, not a screenshot or social media download.
Mistake 2: Heavy filter effects. Vintage sepia, dramatic vignettes, and extreme contrast filters look stylish on social media but can produce unexpected results on fabric. Filters that darken edges (vignettes) make the pillow edges appear dirty. High-contrast filters eliminate mid-tone detail that gives photos their depth. Use filters sparingly, or apply them at reduced intensity.
Mistake 3: Photos with important content at the edges. Pillow construction requires a seam allowance of approximately 0.5 inches on all sides. Any content at the very edge of your image will be hidden inside the seam. Keep important elements — faces, text, logos — at least 1 inch from any edge.
Mistake 4: Low-light or grainy photos. Photos taken in dim lighting often have visible digital noise (grain) that becomes more pronounced when printed at pillow size. If your photo is noisy, use a noise reduction tool in your editing app before uploading. Alternatively, choose a smaller pillow size where the noise is less noticeable.
Mistake 5: Uploading the wrong file. It sounds obvious, but accidentally uploading a thumbnail, a cropped preview, or a different photo than intended is more common than you might think. Always double-check your upload by reviewing the preview in the design tool before placing your order.
iPhone vs DSLR Photo Quality for Prints
A question we hear constantly: do I need a professional camera, or will my phone camera work? The short answer is that modern smartphones produce excellent results for custom pillow printing in most situations. Here is a more detailed comparison:
iPhone 13 and newer (12MP+ main camera): The 12-megapixel sensor produces 4,032 × 3,024 pixel images — more than enough resolution for any pillow up to 20×20 inches at 150 DPI. The computational photography features (Smart HDR, Deep Fusion) produce clean, detailed images with accurate colors. For standard pillow sizes, an iPhone photo is indistinguishable from a DSLR photo on the finished product.
Samsung Galaxy S21 and newer (108MP main camera on Pro models): Samsung's high-megapixel sensors produce massive files that can fill even body pillow dimensions without quality loss. The 108MP mode creates 12,000 × 9,000 pixel images. Even the standard 12MP mode produces files suitable for all standard pillow sizes.
DSLR cameras (20-45MP typical): Professional cameras still offer advantages for large-format pillow printing (body pillows, oversized floor cushions) and for difficult lighting conditions. The larger sensor produces cleaner images in low light, and the higher megapixel count provides more cropping flexibility. If you are printing a 20×54 body pillow from a heavily cropped photo, a DSLR gives you more pixels to work with.
Our recommendation: Use whatever camera you have. For pillows 20×20 and smaller, any modern smartphone produces professional-quality results. For body pillows or heavily cropped photos, a DSLR provides a margin of safety. The most important factor is not the camera — it is the lighting, composition, and focus of the photo itself.
Collage Layout Tips for Multi-Photo Pillows
Multi-photo collage pillows are popular for family photos, vacation memories, pet collections, and milestone celebrations. A well-designed collage arranges photos in a balanced, visually appealing layout. A poorly designed one looks cluttered and chaotic. Here are the principles that separate great collages from messy ones.
Stick to an odd number of photos: Layouts with 3, 5, 7, or 9 photos tend to look more dynamic and visually interesting than even-numbered grids. A 4-photo grid can feel static and predictable, while a 5-photo layout with one large center image surrounded by four smaller ones creates a natural focal point.
Vary photo sizes: Not every photo in your collage needs to be the same size. Feature one or two hero images at a larger size and surround them with smaller supporting photos. This hierarchy guides the viewer's eye and prevents the collage from looking like a contact sheet.
Maintain consistent spacing: Use equal spacing (gutters) between all photos in the collage. Uneven spacing makes the layout look unintentional. A spacing of 0.25 to 0.5 inches between photos works well for most pillow sizes.
Consider a background color: The gaps between photos in a collage reveal the background. Choose a background color that complements your photos — neutral tones (white, cream, gray, black) work universally. Avoid bright background colors that compete with the photos for attention.
Use the same editing style across all photos: If one photo is warm-toned and another is cool-toned, the collage will look disjointed. Apply the same basic adjustments (brightness, contrast, white balance) to all photos so they feel like a cohesive set.
For step-by-step guidance on creating your first pillow design, including collage layouts, see our complete custom pillow design guide.
File Format Guide: PNG vs JPEG vs TIFF
The file format you upload affects image quality, color accuracy, and compatibility. Here is what you need to know about each format for custom pillow printing:
JPEG (.jpg): The most common photo format. JPEG uses lossy compression, which means some image data is discarded to reduce file size. For custom pillow printing, JPEG at maximum quality (100% or level 12 in Photoshop) is perfectly acceptable. Avoid re-saving JPEGs multiple times — each save compresses the file further, gradually degrading quality. If you have edited your photo extensively, save the final version as a new JPEG at maximum quality rather than overwriting the original repeatedly.
PNG (.png): Uses lossless compression, preserving all image data regardless of how many times you save it. PNG is the recommended format for designs with text, logos, sharp edges, or flat color areas because it preserves crisp details that JPEG compression can soften. PNG files are larger than JPEGs but the quality difference is visible in graphics-heavy designs. PNG also supports transparency, which is useful for designs where the pillow fabric color should show through certain areas.
TIFF (.tiff): The professional standard for print-ready files. TIFF supports lossless compression, CMYK color space, and embedded color profiles. If you are working with a graphic designer or using professional software, TIFF provides the highest fidelity. However, TIFF files can be very large (50-200MB+), and most online upload tools have file size limits. For most custom pillow orders, a high-quality JPEG or PNG is indistinguishable from TIFF on the finished product.

Our recommendation: Use PNG for designs with text, logos, or graphics. Use JPEG at maximum quality for photographs. Use TIFF only if your designer provides it and the upload tool accepts it. In all cases, upload the highest-resolution version available — our system handles any necessary resizing automatically.
Final Photo Preparation Checklist
Before uploading your photo to order a custom pillow, run through this quick checklist to ensure the best possible result:
Resolution check: Is your image at least 2,400 pixels on the shortest side? If not, choose a smaller pillow size or find a higher-resolution version of the photo.
Crop preview: Have you previewed how your photo looks cropped to the pillow's aspect ratio? Make sure no important elements are cut off or hidden in the seam allowance.
Color review: Does your photo have accurate white balance and natural skin tones? Remove or reduce any heavy filters that could produce unexpected results on fabric.
Edge clearance: Are all important elements (faces, text, key details) at least 1 inch from the edges? Content at the very edge will be lost in the pillow seam.
File quality: Are you uploading the original file (not a screenshot or social media download)? Is it saved at maximum quality in JPEG or PNG format?
With your photo properly prepared, you are ready to create a stunning custom photo pillow. Visit our custom pillows page to explore pillow styles and sizes, then use our free design tool to upload your photo, preview the result, and place your order with confidence.
Share this article
Written by
Camille Dupont
Senior Designer at RareCustom. Camille guides customers on photo resolution, cropping techniques, and color accuracy to ensure perfect custom photo pillow prints.