How to Design a Custom Pillow: Step-by-Step Guide for Beginners
Follow this beginner-friendly step-by-step guide to design your own custom pillow. Learn how to choose the right size, upload artwork, add text, select fabric, and order your personalized pillow online.
Camille Dupont
Senior Designer at RareCustom. Camille walks beginners through the custom pillow design process from style selection to final order with professional tips and creative inspiration.
Designing a custom pillow might seem complicated if you have never done it before, but modern online design tools make the process surprisingly simple. You do not need graphic design experience, professional software, or artistic talent. All you need is an idea — a favorite photo, a meaningful quote, a logo, or a pattern — and a few minutes to bring it to life using a drag-and-drop interface.
This step-by-step guide walks you through the entire process of designing a custom pillow from scratch. By the end, you will know exactly how to choose your pillow style, upload or create your design, position elements for optimal printing, and place your order with confidence. Let's get started.
Step 1: Choose Your Pillow Style and Size
The first decision is what type of pillow you want to create. Each style serves a different purpose and offers a different canvas shape for your design.
Square throw pillows (16x16, 18x18, 20x20 inches): The most versatile and popular option. Square pillows work on couches, beds, accent chairs, and reading nooks. The 18x18 inch size is the most commonly ordered because it fits standard pillow inserts and provides a balanced design canvas — large enough for detailed photos but compact enough to pair with other pillows.
Lumbar pillows (12x20, 14x26 inches): Rectangular pillows designed for lower back support and horizontal accent placement. Lumbar pillows look great on sofas, benches, and beds. The wide, narrow format works especially well for text-heavy designs like quotes, names, and date lines.
Body pillows (20x54 inches): Full-length pillows for sleeping, lounging, or large-scale decorative use. Body pillows offer the largest print area and work well for panoramic photos, full-body character prints, and sprawling pattern designs.
Floor cushions (24x24, 26x26 inches): Oversized square pillows for floor seating, meditation spaces, and children's rooms. Floor cushions benefit from bold, graphic designs that are visible from standing height.
Consider where the pillow will live in your home. A bedroom accent pillow might be 16x16 in soft velvet, while a couch statement pillow could be 20x20 in durable canvas. Your intended placement guides both the size and fabric choice. Open our online design tool to see all available sizes with real-time previews.

Step 2: Select Your Fabric
After choosing your pillow size, select the fabric material. Each fabric affects how your design looks, how the pillow feels, and how well it holds up to daily use.
For photo-heavy designs: Choose polyester microfiber or smooth cotton for the sharpest image reproduction. These tightly woven fabrics provide a smooth printing surface that captures fine details and accurate colors.
For text and graphic designs: Canvas, cotton, or linen all work beautifully. Canvas adds a rustic, textured quality, cotton provides a clean modern look, and linen brings natural warmth and depth to simple designs.
For luxury gifts: Velvet or faux suede elevates any design with rich tactile depth. The plush pile creates a premium look and feel that recipients immediately notice. Read our complete fabric comparison guide for detailed pros and cons of every material option.
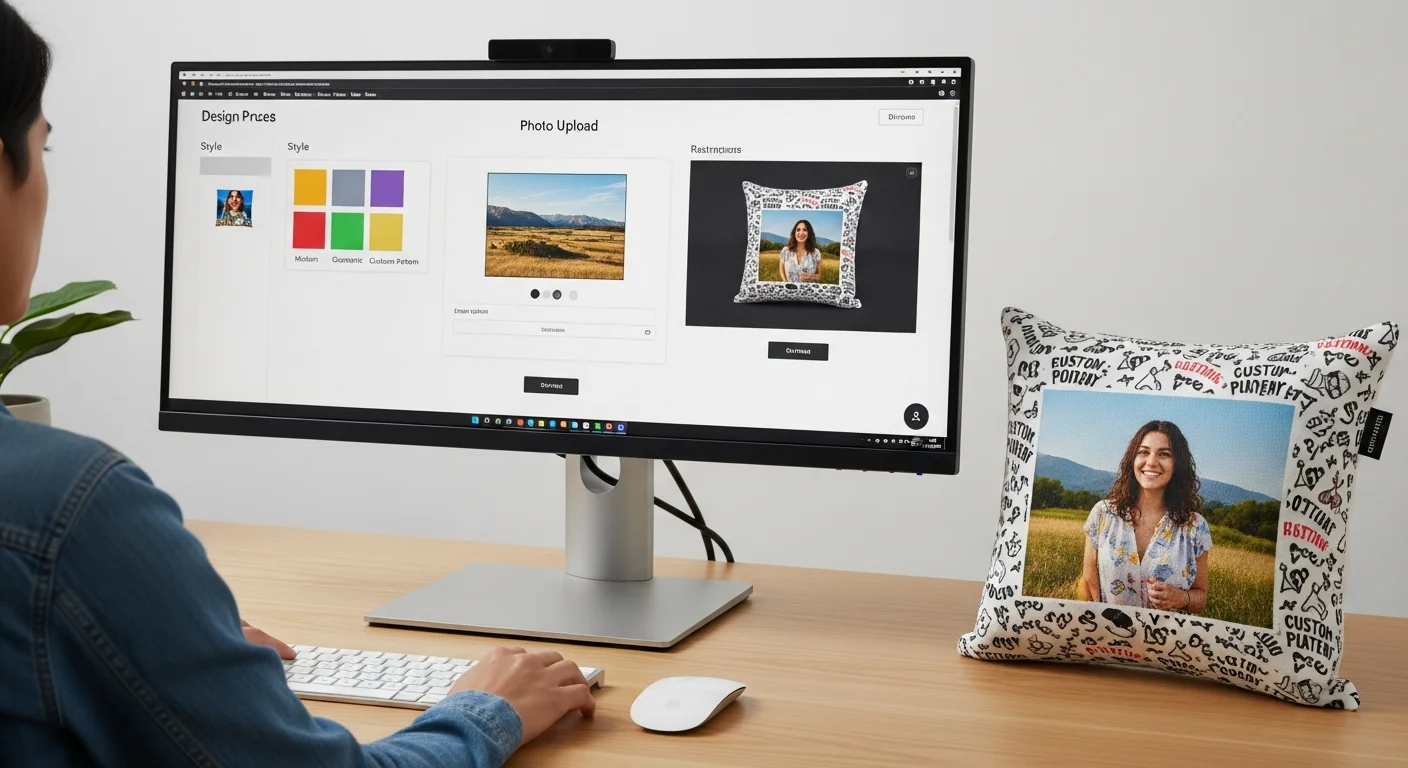
Step 3: Upload or Create Your Design
This is where your pillow starts to take shape. Most online pillow designers offer three approaches to creating your design:
Upload your own image: Upload a photo, illustration, logo, or artwork file. Accepted formats typically include PNG, JPEG, SVG, and PDF. For the best results, use images with a minimum resolution of 150 DPI at the final print size. A 18x18 inch pillow at 150 DPI requires at least 2,700 x 2,700 pixels. Higher resolution (300 DPI) produces even sharper results.
Use design templates: Many pillow design tools offer pre-built templates for common themes — monograms, photo collages, holiday designs, pet portraits, quotes, and more. Templates give you a professional starting point that you can customize with your own photos, text, and colors.
Design from scratch: Start with a blank canvas and build your design element by element. Add shapes, text, borders, patterns, and uploaded images in any combination. This approach offers maximum creative freedom but requires more time and design sensibility.
For photo-based designs, check our photo pillow tips guide for detailed advice on resolution requirements, color accuracy, and common photo mistakes to avoid before uploading.

Step 4: Position and Preview
Once your design elements are on the canvas, position them precisely on the pillow surface. This step is critical because the printable area of a pillow is smaller than the full pillow size — seams consume approximately 0.5 inches on each edge.
Safe zone: Keep important design elements (faces, text, logos) at least 1 inch from all edges. Content in this safe zone is guaranteed to be fully visible on the finished pillow. Anything outside the safe zone may be partially hidden by seams or edge finishing.
Bleed area: If you want your design to extend all the way to the pillow edges (full-bleed printing), extend the artwork 0.25-0.5 inches beyond the trim line. This ensures there are no white gaps at the edges after sewing.
Preview from multiple angles: Use your design tool's 3D or mockup preview to see how the design looks on the actual pillow shape. What looks centered on a flat canvas may appear slightly different when wrapped around a stuffed pillow form. Adjust positioning based on the preview until you are satisfied.
Zoom and detail check: Zoom in on text and fine details to ensure they are sharp and legible at the actual print size. Small text (below 12pt on an 18x18 pillow) may be difficult to read from normal viewing distance. Use our pillow design tool to zoom in and inspect every element before ordering.
Step 5: Add Text or Monogram
Text personalizes your pillow and transforms a generic design into something uniquely meaningful. Whether it is a name, date, quote, or monogram, typography is one of the most impactful elements you can add.
Font selection: Choose a font that matches your design's mood. Elegant script fonts work for wedding and romantic pillows. Bold sans-serif fonts suit modern and graphic designs. Hand-lettered fonts add a casual, personal touch. Most design tools offer 50+ fonts to choose from.
Text size and readability: On an 18x18 pillow, primary text (names, short phrases) should be at least 1-2 inches tall for easy reading from across a room. Secondary text (dates, captions) can be smaller but should still be legible from 5-6 feet away. Test readability by holding your phone at arm's length — if you can read the text on your phone screen, it will be readable on the finished pillow.
Color contrast: Ensure your text color contrasts strongly with the background. White text on a dark photo, or dark text on a light solid background, provides the clearest readability. Avoid placing text directly over busy, detailed areas of a photo where it may blend in and become hard to read.
Monogram formatting: Traditional monogram format uses three letters: first name initial, last name initial (larger, centered), and middle name initial. For couples, use the bride's first initial, shared last initial (larger), and groom's first initial. Monograms look best in serif or script fonts with a font size 30-50% larger for the center letter.

Step 6: Choose Fill and Backing
Your pillow is more than just a printed front panel — the fill and backing contribute significantly to the overall look, feel, and longevity of the finished product.
Fill options: Standard polyester fiberfill is included with most custom pillows. Upgrade to down alternative for a plusher, more luxurious feel, or choose a firm memory foam insert for lumbar and support pillows. Some services offer the cover only (no fill) if you already have inserts at home that you want to use.
Backing fabric: The back of your pillow can match the front (same printed design), use a solid complementary color, or feature a different design entirely. Many customers choose a solid backing that coordinates with their room's color scheme, reserving the printed design for the front face.
Closure type: Most custom pillows use a hidden zipper closure that allows you to remove the cover for washing and replace the insert over time. Envelope closures (an overlapping fabric flap) are a simpler, more casual alternative. Zipper closures are generally preferred because they are more secure and provide a cleaner finished look.
Step 7: Review and Order
Before placing your order, conduct a final review to catch any issues that could affect the finished product. This five-point checklist ensures a perfect pillow every time:
1. Spelling and grammar: Double-check every word of text on your design. Misspelled names or dates on a custom pillow are permanent and costly to fix. Read the text out loud — this catches errors your eyes skip over when reading silently.
2. Image quality indicator: Most design tools display a quality indicator (green, yellow, red) showing whether your uploaded images have sufficient resolution for sharp printing. Ensure all images show green. Yellow means acceptable but not ideal. Red means the image will print blurry — replace it with a higher-resolution version.
3. Design positioning: Verify that all important elements are within the safe zone, away from edges and seams. Check the preview mockup one final time.
4. Color accuracy: Remember that screen colors and printed fabric colors can differ slightly. Monitors display color using light (RGB), while fabric printing uses dye (CMYK). Bright neon colors may appear slightly more muted on fabric. Most services offer a color-matching guarantee to address significant discrepancies.
5. Quantity and shipping: Confirm the number of pillows, the correct size and fabric for each, and your preferred shipping method. Factor in production time (typically 3-7 business days) plus transit time when planning for gift deadlines.

Design Inspiration and Templates
If you are starting from scratch and need creative direction, here are the most popular custom pillow design categories to inspire your project:
Photo collage pillows: Arrange 4-9 favorite photos in a grid layout. Add a central text element like a family name, pet's name, or year. Photo collages work beautifully for gifts because they tell a visual story.
Quote and typography pillows: Feature a meaningful quote, song lyric, or family motto in elegant typography. Pair with a subtle background pattern or solid color for a clean, modern look.
Monogram and initial pillows: Classic single or three-letter monograms in serif or script fonts. Add a decorative border or wreath element around the monogram for extra sophistication.
Pet portrait pillows: Upload a clear, well-lit photo of your pet. Crop tightly around the face for maximum impact. Add the pet's name in a complementary font below the image.
Pattern and repeat designs: Create seamless patterns using shapes, icons, or small illustrations that tile across the entire pillow surface. Geometric patterns, floral repeats, and abstract designs create professional-looking results even for beginners.
Common Design Mistakes to Avoid
Even experienced designers make these mistakes when creating custom pillows. Avoid these pitfalls for better results:
Using low-resolution images: This is the number one mistake. A photo that looks fine on your phone screen may print blurry on a pillow because phone screens display at 72 DPI while pillows print at 150-300 DPI. Always use the highest resolution source image available.
Placing text too close to edges: Text near the pillow edges gets lost in seams or appears cut off. Always maintain at least a 1-inch margin from all edges for text and critical design elements.
Overcrowding the design: Resist the urge to fill every inch of the pillow with elements. White space (or open background space) makes your design look cleaner and more professional. A single large photo with a simple text element often has more visual impact than a cluttered collage.
Ignoring the 3D effect: Remember that a flat design file wraps around a stuffed, three-dimensional pillow. Elements near the edges curve out of direct view. Always check the 3D preview in your design tool and adjust accordingly.
Not checking print method compatibility: Certain design elements work better with specific printing methods. Gradient-heavy, photographic designs need sublimation or DTG printing. Bold, limited-color logos work well with screen printing. Embroidery suits monograms and simple line art but cannot reproduce photographs.
Ready to start designing? Open our free pillow design tool, choose your size and fabric, and bring your vision to life. With RareCustom pillow printing, there are no minimums, no design fees, and your pillow ships with a 100% satisfaction guarantee.
Share this article
Written by
Camille Dupont
Senior Designer at RareCustom. Camille walks beginners through the custom pillow design process from style selection to final order with professional tips and creative inspiration.