Custom Photo Phone Cases: Tips for Getting the Perfect Print Every Time
Master photo selection, resolution requirements, color matching, and layout options for flawless custom photo phone cases. Complete guide covering cropping, safe zones, editing tips, and proofing.
Priya Shankar
Customer Success Lead at RareCustom. CCXP certified with 6 years in education. Priya guides customers through creating stunning photo phone cases for gifts and personal use.
A custom photo phone case transforms a favorite image — a family portrait, a pet snapshot, a vacation landscape, or a cherished memory — into a functional, everyday accessory that you carry with you everywhere. Photo cases consistently rank among the most popular custom phone case categories, accounting for an estimated 35 to 40 percent of all personalized case orders. They are also one of the top five most-gifted personalized products, with demand spiking around Mother's Day, Father's Day, Valentine's Day, and the winter holiday season.
However, the gap between expectation and reality is wider with photo cases than with any other custom phone case design type. A stunning photograph on your phone screen does not automatically translate to a stunning print on a curved, three-dimensional case surface. Resolution limitations, color mode differences, camera cutout alignment challenges, and improper cropping are the four factors that most commonly cause photo cases to disappoint. This guide provides a thorough, practical roadmap for selecting, preparing, and optimizing photos for phone case printing, ensuring that the finished product matches — or exceeds — what you envisioned on screen.
Why Photo Phone Cases Are the Perfect Personalized Gift
The appeal of a custom photo phone case as a gift lies in its combination of personalization, utility, and emotional resonance. Unlike a photo printed on paper and placed in a frame — which sits in one location and is seen only by visitors — a photo case travels with its owner throughout the day, serving as a constant, tactile connection to the person, place, pet, or moment captured in the image.
Gift industry data shows that personalized photo products generate 62 percent higher satisfaction scores than generic gifts of equivalent price. Recipients of photo gifts report feeling that the giver invested thought and effort, which strengthens the emotional impact of the gesture. A pet photo phone case featuring a beloved dog or cat, for example, consistently ranks among the top five most-popular personalized gifts for pet owners, with suppliers reporting 300 percent demand increases around National Pet Day and the holiday season.
Photo cases also serve practical functions beyond sentimentality. Parents use family photo cases to keep loved ones close during travel. Couples create matching cases with shared photos for anniversary gifts. Memorial cases featuring photos of lost loved ones or pets provide comfort and remembrance. And beyond personal use, small businesses use photo cases featuring product images, team photos, or behind-the-scenes snapshots as authentic brand-building merchandise.
The economics are favorable, too. A high-quality custom photo phone case costs $10 to $20 — a price point accessible enough for casual gifting while substantial enough to feel meaningful. Compared to custom photo books ($30 to $80), photo canvas prints ($25 to $60), or custom jewelry ($50+), photo phone cases deliver emotional impact at a significantly lower price while providing genuine daily utility that other photo gifts lack.
Choosing the Right Photo for Your Case
Not every photo works equally well on a phone case. The physical characteristics of the case — its small surface area, curved edges, camera cutout, and the fact that it will be viewed from arm's length rather than close up — favor certain types of images over others.
High-contrast images reproduce best. Photos with strong contrast between light and dark areas, vivid colors, and clear subject definition translate well to the small case surface. A portrait with a clean, uncluttered background; a landscape with bold sky-to-ground contrast; or a pet photo with a single focused subject against a blurred backdrop all produce excellent results.
Simple compositions outperform complex ones. An image with one or two clear focal points reads well at phone case scale. A busy group photo with 15 people, a detailed street scene with dozens of elements, or an image with significant text overlaid may lose clarity when printed at 2.8 by 5.6 inches. If using a group photo, choose one with the subjects arranged close together and filling most of the frame.
Well-lit photos are essential. Images taken in good natural light — outdoor daytime, window-lit interiors, or professionally lit studio settings — produce the most vibrant, detailed prints. Photos taken in low light, under harsh fluorescent lighting, or with heavy digital noise from high-ISO smartphone settings may print with visible grain, color casts, or muddy shadows that were not apparent on screen.

Photos in portrait orientation naturally align with the vertical format of most phone cases. Landscape-orientation photos can work but will either need to be cropped significantly to fill the case or positioned with empty space above and below, which requires a complementary background color or pattern to fill the margins.
Resolution Requirements: Why 300 DPI Matters
Resolution is the single most important technical factor in photo phone case quality. A 300 DPI phone case print means that every square inch of the printed image contains 300 dots of ink in each direction — 90,000 individual ink dots per square inch — producing smooth, continuous-tone reproduction with no visible pixelation or dot pattern.
To calculate whether your photo has sufficient resolution, measure the phone case's print area dimensions and multiply each by 300. A standard smartphone case back panel measures approximately 2.8 inches wide by 5.6 inches tall. At 300 DPI, the minimum image dimensions are 840 pixels wide by 1,680 pixels tall. With bleed (3 millimeters on each side), the recommended dimensions increase to approximately 900 by 1,750 pixels. Most modern smartphone cameras capture images at 3,000 by 4,000 pixels or larger, which provides ample resolution for phone case printing.
| Image Source | Typical Resolution | Suitable for Phone Case? |
|---|---|---|
| Modern smartphone (12+ MP) | 3,000 x 4,000+ px | Excellent — 2x more than needed |
| DSLR/mirrorless camera | 4,000 x 6,000+ px | Excellent — 3x or more |
| Social media download (full size) | 1,080 x 1,350 px | Marginal — may show softness |
| Social media screenshot | 750 x 1,334 px | Poor — visible pixelation likely |
| Thumbnail or profile picture | 200 x 200 px | Not suitable — will be blurry |
The most common resolution mistake is using an image downloaded from social media or screenshot captured from a messaging app. Instagram, Facebook, WhatsApp, and most social platforms compress uploaded images to reduce file size and loading time, often reducing resolution to 1,080 pixels on the longest side — below the recommended minimum for crisp phone case printing. Always use the original, uncompressed photo file from your camera roll, cloud backup (Google Photos, iCloud, Dropbox), or camera memory card rather than a social media copy.
Understanding Print Area and Safe Zones
Every phone case has a defined printable area that is smaller than the total case surface. Understanding the relationship between the case's physical dimensions, the printable area, the bleed zone, and the safe zone prevents the most common layout errors in photo case design.
The printable area covers the flat back panel and, for full-wrap designs, extends around the case's edges to the front rim. This is the maximum area your image can cover. The bleed zone extends 2 to 3 millimeters beyond the visible edge of the case in every direction. Artwork should extend into the bleed zone to prevent white gaps at the edges caused by minor alignment variations during production. Think of the bleed as insurance — your image extends past where the case edge will be, so even if the alignment shifts slightly, there is no visible unprinted border.

The safe zone is the area 3 to 5 millimeters inside each edge where critical design elements — faces, text, important objects — should be placed. Content in the safe zone is guaranteed to be visible on the finished case regardless of minor production tolerances. Content between the safe zone and the bleed line may be partially trimmed or wrapped around the case edge.
The camera cutout zone is the most critical exclusion area. Every phone model has a unique camera module position, and the case is precisely punched or molded to expose the camera lenses, flash, and sensors. Placing a face, important text, or any critical element directly behind the camera cutout area results in that element being punched out of the finished case. Always preview the design on a model-specific template that shows the exact camera cutout position, and keep critical content at least 3 millimeters away from the cutout edge. Camera cutout photo alignment is one of the most important skills for successful photo case design.
Photo Editing Tips for Phone Case Printing
Even a great photo benefits from minor editing before being applied to a phone case template. The goal is to optimize the image for the specific characteristics of the printing process and the small-format viewing distance.
Increase contrast slightly. Printed images tend to appear slightly less contrasty than they do on a backlit screen. Boosting contrast by 10 to 15 percent in your photo editor compensates for this difference and produces a print that matches the on-screen preview more closely. Focus on brightening highlights and deepening shadows without losing detail in either extreme.
Boost saturation by 5 to 10 percent. Like contrast, color saturation often appears slightly muted in print compared to screen. A modest saturation increase ensures that printed colors look as vivid as intended. Be careful not to over-saturate, which can push skin tones toward orange or red and create unnatural-looking results, especially in portraits.
Sharpen the image. Apply a moderate sharpening filter (unsharp mask at 80 to 120 percent, radius 0.8 to 1.2 pixels) to enhance edge definition and fine detail. Sharpening counteracts the slight softening that occurs during the printing process and produces a crisper final result. Over-sharpening introduces visible halos around edges, so apply conservatively.
Crop to the case template. Rather than uploading a full uncropped image and relying on the design tool to position it, pre-crop your image to approximately the same aspect ratio as the phone case template (typically 9:19 or 9:20 for modern smartphones). This gives you full control over which portion of the image appears on the case and where the critical elements fall relative to the camera cutout and safe zone.

Consider a color-coordinated background. If your photo does not fill the entire case surface — particularly landscape-orientation images on a portrait-format case — choose a background color that complements the photo's color palette. Match the background to a prominent color in the image (sky blue, grass green, warm beige) for a cohesive look rather than defaulting to plain white or black.
Color Mode Matching: RGB vs CMYK
The color mode of your image file affects how colors translate from screen to print. Understanding the difference between RGB and CMYK prevents the most common color-shift surprises in custom photo phone case orders.
RGB (Red, Green, Blue) is the color model used by screens — phones, monitors, tablets. It creates colors by combining light, with the three primaries mixing to produce over 16 million perceivable colors. Every digital photo from a camera or phone is captured in RGB.
CMYK (Cyan, Magenta, Yellow, Key/Black) is the color model used by most printing processes. It creates colors by subtracting light through ink layers on a white (or coated) surface. The CMYK gamut is narrower than RGB — certain vivid blues, electric greens, and neon pinks that display beautifully on screen cannot be exactly reproduced in CMYK print.
For UV printing — the most common method for custom photo phone cases — the printer typically accepts RGB files and handles the RGB to CMYK conversion internally using a calibrated ICC color profile. This automated conversion produces accurate results for the vast majority of images. However, if your photo contains highly saturated neon colors or specific Pantone brand colors, requesting a CMYK proof before production reveals any significant color shifts in advance.
For sublimation printing, the dye sublimation transfer process uses its own dye-based color system that is optimized for polymer-coated surfaces. Sublimation can reproduce a wide gamut of warm tones (reds, oranges, yellows) with exceptional vibrancy but may slightly mute certain cool blues and greens compared to their RGB appearance on screen.
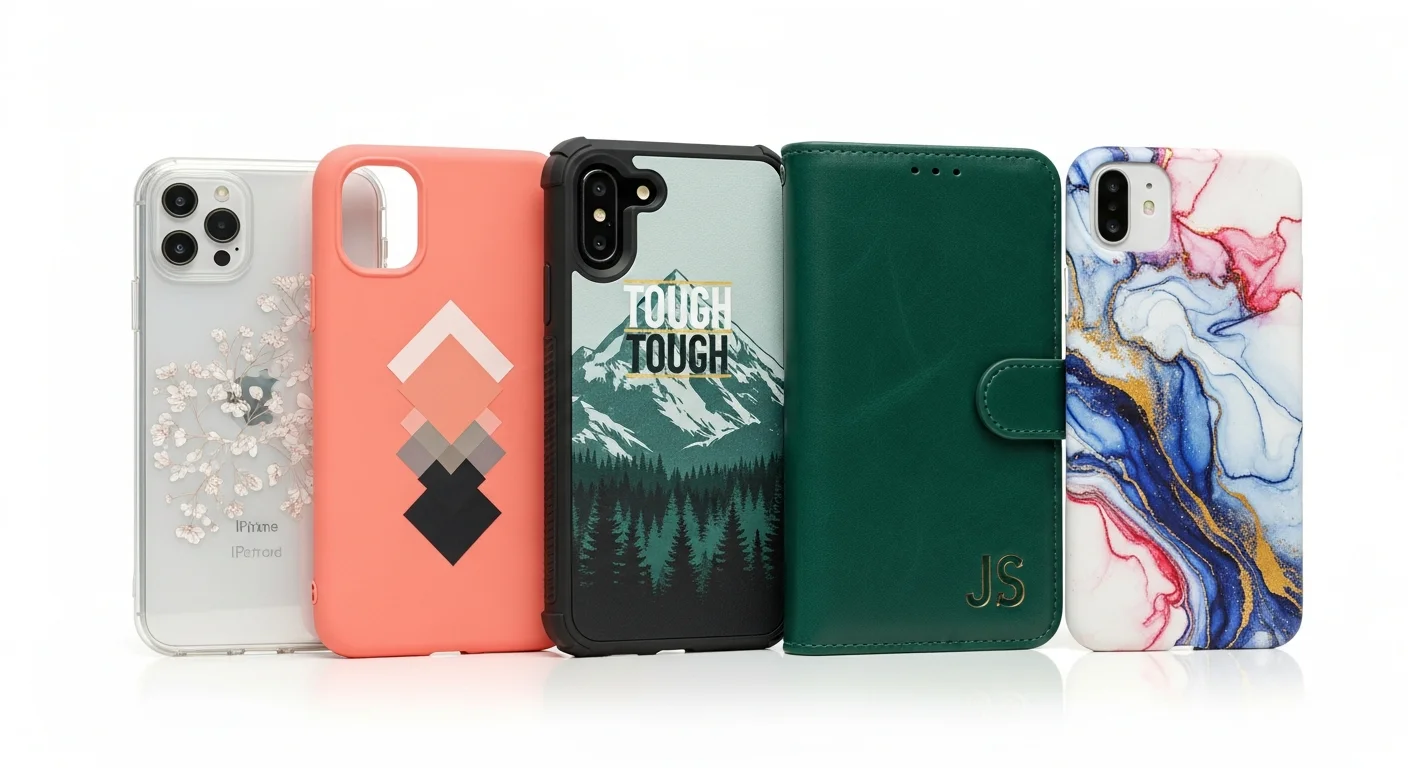
Layout Options for Photo Cases
Photo cases are not limited to a single full-coverage image. Several layout approaches offer creative flexibility, and the best choice depends on the photo, the occasion, and personal taste.
Full-bleed single photo: The most common layout. One image covers the entire case surface, bleeding past the edges on all sides. This produces the most immersive, dramatic result and works best with high-resolution portrait-orientation images that have a clear focal point. Edge-to-edge photo printing creates a seamless look with no visible borders or frames.
Photo collage layout: Multiple images arranged in a grid pattern on the case surface. Common configurations include two images (top and bottom), four images (2x2 grid), six images (2x3 grid), or nine images (3x3 grid). A photo collage phone case is ideal for showcasing multiple memories — vacation highlights, a pet gallery, family members, or a year in review. Each image in the collage should meet the minimum resolution requirements for its printed size within the grid.

Photo with text overlay: A photo background with name, date, quote, or caption overlaid. This layout works well for commemorative cases (wedding dates, birth announcements, memorial tributes) and personal expression. Ensure text is placed in a clear area of the photo with sufficient contrast — use a semi-transparent text backing or a shadow effect if the photo background varies in brightness behind the text area.
Photo with border or frame: The photo is inset within a colored or patterned border, creating a framed-picture effect. This approach works well when the photo does not have enough resolution or appropriate composition for full-bleed printing, as the border reduces the required image coverage area. Frame colors can be matched to prominent colors in the photo for a cohesive design.
Photo with pattern background: A smaller-scale photo (oval, circle, or rounded rectangle) centered on the case with a decorative pattern filling the surrounding area. This layout is popular for pet photo phone case designs, baby photos, and couple portraits, creating a keepsake aesthetic that frames the subject intentionally rather than stretching the image to fill the entire surface.
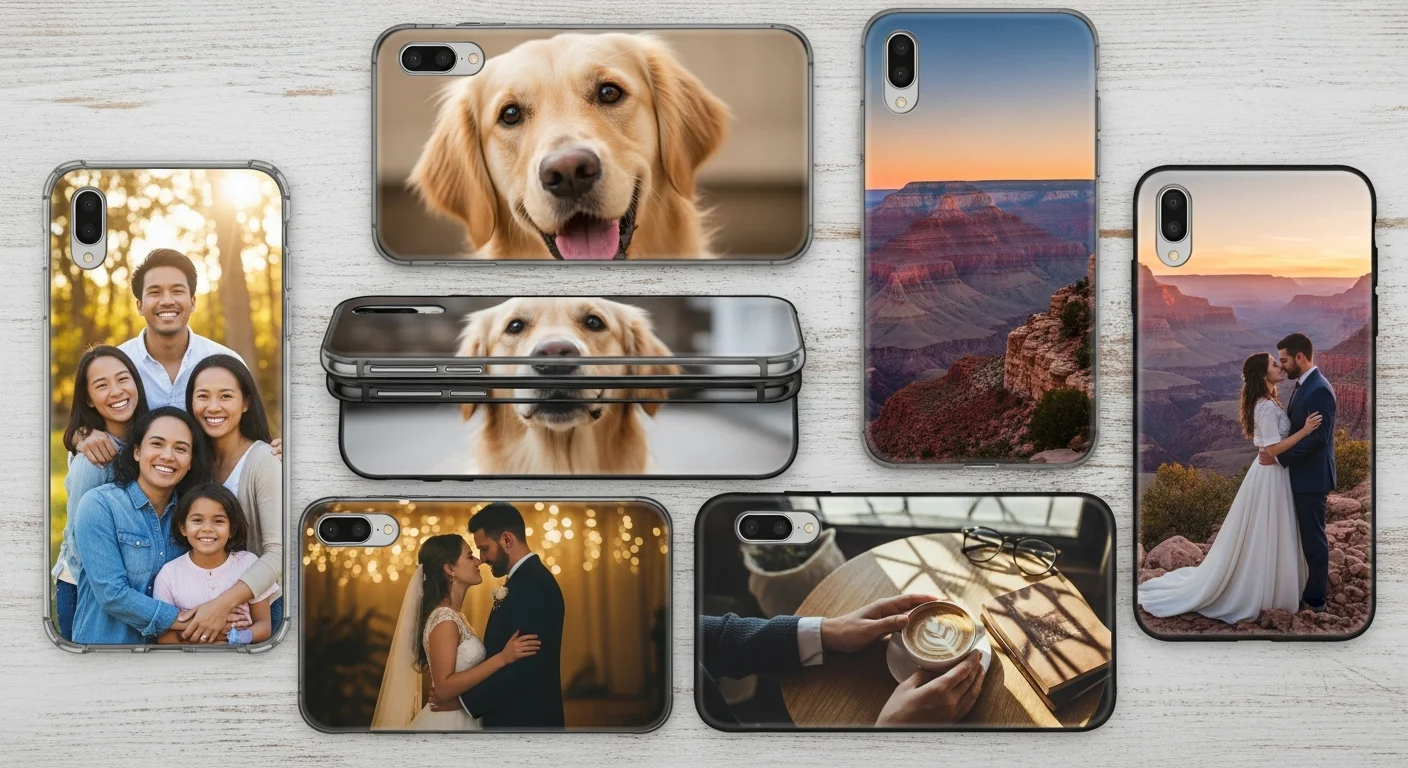
Best Photo Types for Phone Cases
Certain photo categories consistently produce the most impactful and visually successful phone cases. Knowing which types work best helps you select or plan the right image for your case project.
Pet portraits are the single most popular category for custom photo phone cases. Close-up images of dogs, cats, and other pets with clear focus on the face and eyes, shot in good natural light, produce striking results. The emotional connection between pet owners and their animals drives both personal use and gift purchases, making pet photo phone case designs a perennial bestseller.
Family and couple portraits rank second. Outdoor portraits with natural light, clean backgrounds, and subjects arranged close together translate well to the small case surface. Candid, joyful expressions generally produce more engaging cases than stiff, posed studio shots.
Travel and landscape images create visually dramatic cases. Vibrant sunsets, iconic landmarks, aerial views, and seascape panoramas produce eye-catching results, especially when the color palette is bold and the composition has a strong focal point. These images work particularly well as full-bleed layouts that immerse the viewer in the scene.
Artistic and abstract images — macro nature photography, architectural patterns, texture close-ups, and abstract compositions — make sophisticated, unique cases that double as wearable art. These images often look better on a phone case than traditional photos because they do not require recognizable faces or subjects to have impact at small scale.
Baby and children portraits are among the most-gifted photo case designs, particularly for grandparents and extended family members. Close-up images with sharp focus on the child's face, taken in soft natural light, produce the most emotionally resonant results.
Common Photo Case Mistakes and How to Avoid Them
Even experienced users make predictable errors when creating their first custom photo phone case. Awareness of these pitfalls prevents wasted time and disappointing results.
Using a low-resolution image. This is the most common mistake by a wide margin. As detailed in the resolution section above, always verify that your source image meets the minimum pixel dimensions for the case template before uploading. If the design tool warns that the image is low resolution, do not ignore the warning — the printed result will be visibly pixelated and blurry.
Placing a face behind the camera cutout. When positioning a portrait on the case template, it is remarkably easy to place the subject's face directly behind where the camera module will punch through the case. Always check camera cutout photo alignment using the model-specific template, and keep faces at least 5 millimeters away from the cutout boundary.

Ignoring the edge wrap. On full-bleed and full-wrap cases, the image extends around the case edges. This means the outermost 3 to 5 millimeters of the image on each side wrap around the curve and become visible on the side profile rather than the back face. If critical content — a word, a hand, a pet's ear — sits in this edge zone, it may appear distorted or split between the back and side views.
Not accounting for color differences between screen and print. Your phone screen displays images using backlit RGB pixels at far higher brightness and color saturation than any print medium can reproduce. Prints always appear slightly less vivid and slightly less contrasty than screen previews. The editing tips section above explains how to compensate for this difference with minor contrast and saturation adjustments.
Choosing a busy or cluttered photo. An image that looks great at full screen size on a phone or computer monitor may lose all its detail and impact when printed at 2.8 by 5.6 inches. Simple compositions with one or two clear subjects consistently outperform complex scenes with many small elements. When in doubt, crop tighter on the main subject rather than trying to include everything.
Ordering and Proofing Your Photo Case
The ordering process for a custom photo phone case follows the same steps as any custom case, with a few additional considerations specific to photographic content.
Upload the highest-quality version of your photo. Use the original file from your camera roll, cloud backup, or camera memory card. Do not use screenshots, social media downloads, or images forwarded through messaging apps, as these are compressed and reduced in resolution.
Position the photo carefully on the template. Use the design tool's alignment guides to ensure the photo is centered, properly scaled, and clear of the camera cutout and edge zones. Rotate and adjust the image until the composition looks balanced within the case boundaries. Take advantage of the phone case mockup preview to see how the image wraps around the case's 3D shape.
Review the digital proof. Most providers generate a proof image showing the finalized design on the case template. Examine the proof at full zoom for any issues: pixelation, color banding, text alignment, edge bleeding, and camera cutout clearance. Approve the proof only after you are satisfied with every detail.
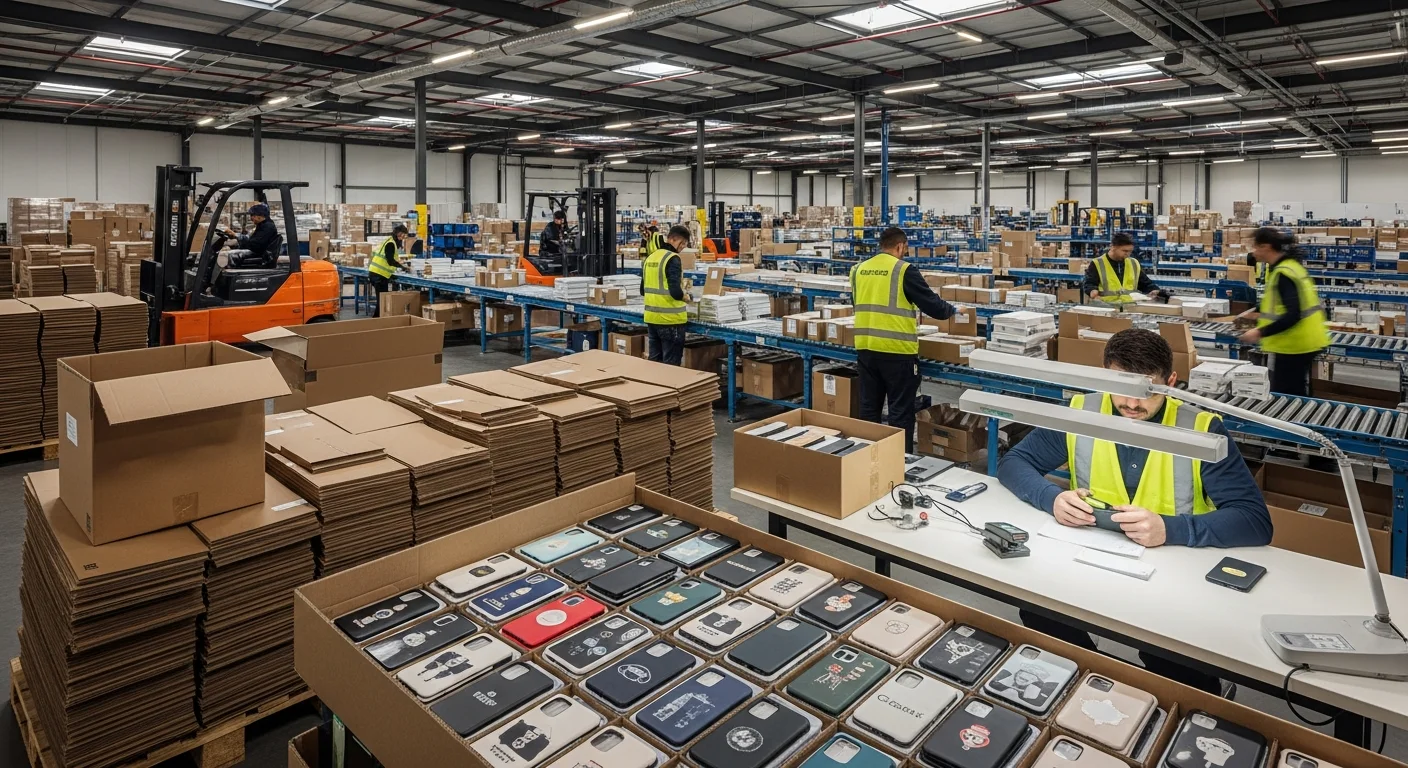
Order a single sample first. For gift orders, group orders, or any situation where the result matters significantly, ordering one sample before committing to a full batch is the smartest investment you can make. The sample reveals how colors translate to the physical case, how the image looks on the actual case material, and whether the camera cutout alignment is correct. A sample typically costs $10 to $20 and adds three to five days to the timeline — a small price for confidence in the result.
For photo phone case projects that involve multiple images across different layouts, or for group orders where each case features a different photo, the beginner's guide to custom phone cases covers the full design-to-order workflow in detail. For events like weddings where photo cases serve as favors, the weddings and events phone case guide provides occasion-specific advice. For tips on achieving perfect results with mugs as well, the custom photo mugs guide covers complementary techniques for another popular photo-printed product.
Create Your Perfect Photo Phone Case
A custom photo phone case turns a cherished image into a daily companion — a functional, beautiful accessory that connects you to the people, places, and moments that matter most. By selecting a high-resolution source image, composing it thoughtfully within the case template, adjusting contrast and saturation for print optimization, and verifying camera cutout alignment through the mockup preview, you can achieve professional-quality results that match or exceed what you envisioned on screen.
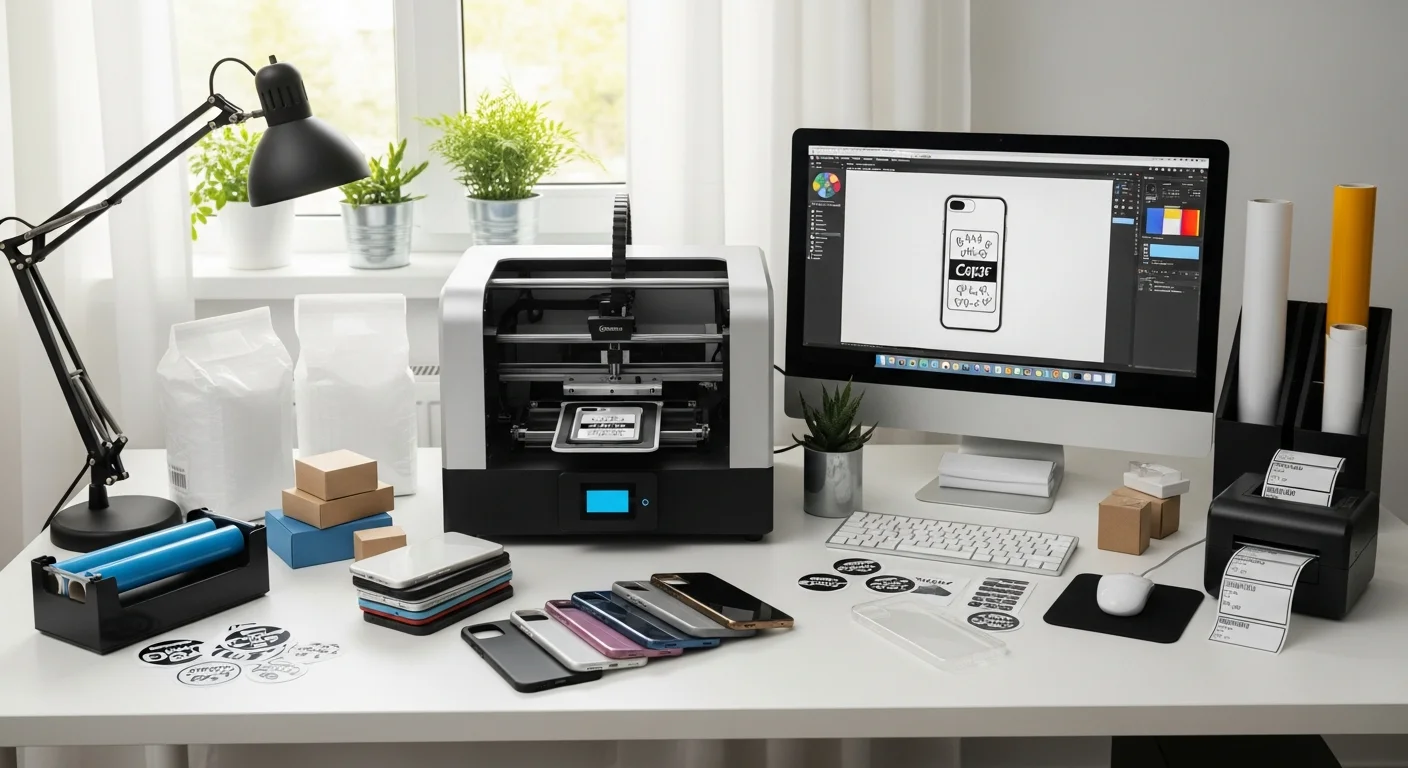
RareCustom's free design tool provides model-specific templates for hundreds of phones, intuitive photo positioning with safe zone guides, real-time 3D previews, and instant proofs for every order. With no minimum order quantities and production times as fast as three business days, you can order a single keepsake case for yourself or batch dozens for a group gift — all with the same attention to print quality and detail.
Ready to create your photo case? Explore custom phone case options to choose your device, case style, and material, then upload your favorite photo and see it come to life on a case you will carry everywhere. For design inspiration and font pairing ideas to complement your photo layout, the fonts, colors, and layouts guide provides expert recommendations for text-enhanced photo designs. To understand cost factors before ordering, the pricing guide breaks down everything from single-unit costs to volume discounts.
Related Articles
- How to Design Custom Phone Cases: The Complete Beginner's Guide — Full walkthrough of the design and ordering process for all case types.
- Phone Case Compatibility Guide: iPhone, Samsung, and More — Ensure your photo case fits your exact device model.
- Custom Phone Cases for Weddings, Events, and Gifts — Photo case ideas for special occasions and group orders.
- Best Fonts, Colors, and Layouts for Phone Case Design — Typography and design tips for text-enhanced photo cases.
- Custom Photo Mugs: Tips for Perfect Prints — Apply similar photo optimization techniques to another popular personalized product.
Share this article
Written by
Priya Shankar
Customer Success Lead at RareCustom. CCXP certified with 6 years in education. Priya guides customers through creating stunning photo phone cases for gifts and personal use.