Photo Blankets: 12 Expert Tips for Stunning, Vibrant Prints
Get expert tips for creating photo blankets with vibrant, sharp prints. Covers resolution, color accuracy, collage layouts, and photo selection for custom blankets.
Rohan Mehta
Head of Marketing at RareCustom. Former business journalist at Retail Dive. Rohan's expertise in visual storytelling helps customers create photo blankets that truly stand out.
A photo blanket turns your most treasured memories into something you can literally wrap around yourself. But the difference between a stunning keepsake and a blurry disappointment comes down to how you prepare your photos and design your layout. Whether you are creating a personalized photo blanket for a grandparent, a memorial gift for a grieving friend, or a family collage throw for your own living room, the tips in this guide will help you achieve vibrant, sharp, professional-quality results every time.
This comprehensive guide covers the twelve most important factors that determine photo blanket quality — from image resolution and color accuracy to collage layout strategies and material selection. Follow these expert tips and your custom photo throw will look exactly as stunning in person as it does on your screen.
Why Photo Blankets Are the Most Meaningful Custom Gift
Among all personalized products, personalized photo blankets consistently rank as the most emotionally impactful gift category. The reason is simple: a photo blanket combines visual memory with physical comfort. Seeing a loved one's face printed on a blanket you can hold, wrap around your shoulders, and curl up with on a cold evening creates a multi-sensory emotional experience that no digital photo frame, canvas print, or coffee mug can replicate.
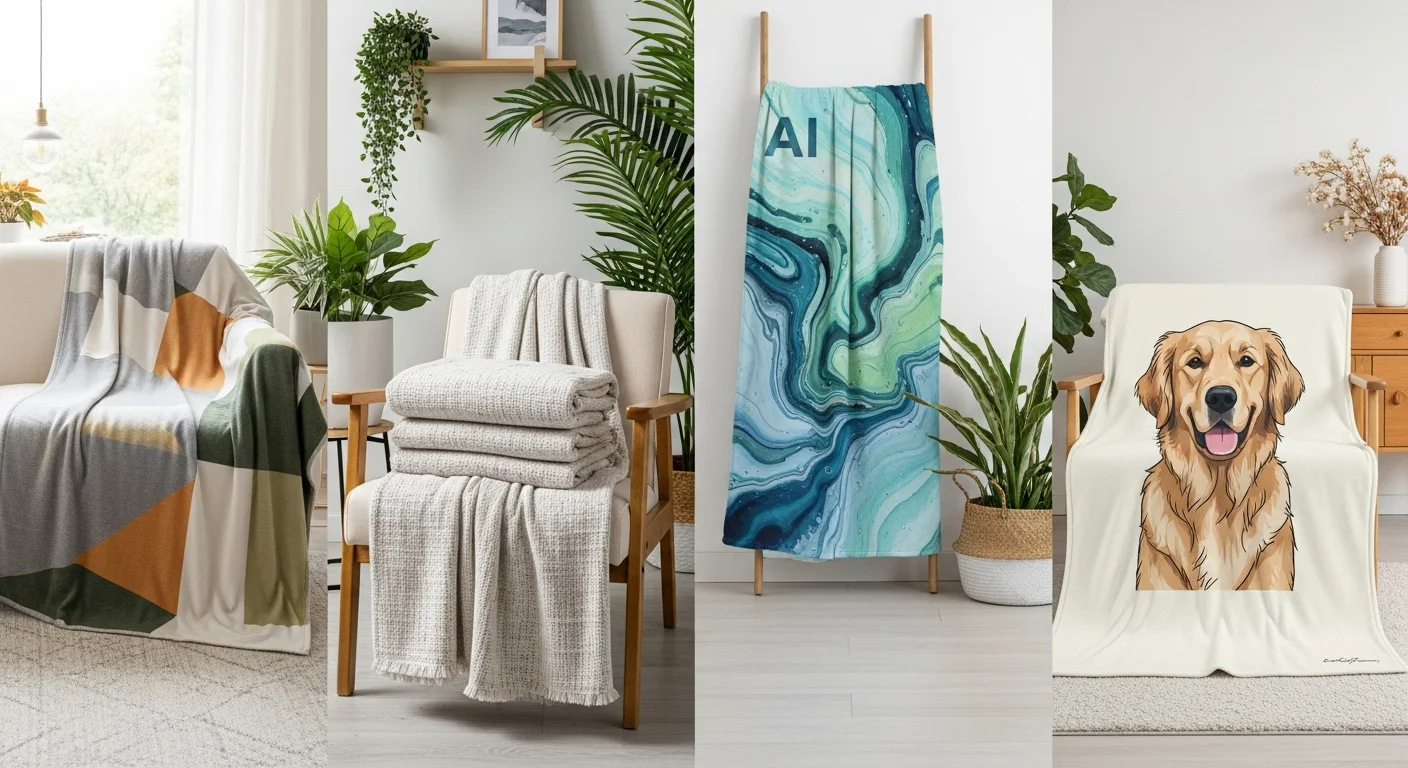
The versatility of a picture blanket makes it appropriate for virtually any relationship and occasion. A family photo blanket featuring vacation snapshots becomes a living room centerpiece that sparks conversation with every guest. A pet photo blanket captures the personality of a beloved animal companion in a way that brings daily joy. A Grandma photo blanket covered in grandchildren's school photos becomes the most-used item in the house — because grandparents do not just display these blankets, they use them constantly.
The practical nature of blankets also means your gift will not gather dust on a shelf. Recipients report using personalized photo blankets an average of 4-5 times per week, making them among the highest-engagement personalized gifts available. From a couple photo blanket for Valentine's Day to a graduation photo blanket marking a milestone achievement, the emotional resonance of seeing your own memories on something warm and tangible is unmatched.
Photo Resolution — The Number One Factor
Resolution is the single most important technical factor in photo blanket quality. A photo that looks perfect on your phone's 6-inch screen will be stretched across a 50" x 60" blanket — an enlargement of roughly 1,000%. At that scale, every pixel matters.
The gold standard is 300 DPI blanket resolution at the final print size. For a standard throw blanket, that translates to approximately 15,000 x 18,000 pixels — a massive file that only professional cameras and high-end smartphones produce natively. The practical minimum for acceptable quality is 3,000-5,000 pixels on the longest side, which produces results around 50-100 DPI at blanket scale. This lower resolution still looks good from normal viewing distances (3-5 feet) because blankets are soft-textured surfaces that naturally diffuse minor pixelation.
How to check your photo resolution: on an iPhone, open the photo in the Photos app, swipe up, and look at the dimensions listed under "Information." On Android, open the photo in Gallery, tap the three-dot menu, select "Details," and check the resolution. For files on a computer, right-click the image file, select "Properties" (Windows) or "Get Info" (Mac), and check the pixel dimensions. Any photo from a modern smartphone (2018 or newer) shot in standard mode should produce sufficient resolution for a single-photo blanket.
Warning signs of low resolution include: file size under 500KB (usually indicates heavy compression or small dimensions), images downloaded from social media platforms (Instagram, Facebook, and Twitter compress images aggressively), and screenshots of photos rather than the original files. Always use the original photo from your camera roll rather than a version that has been shared through messaging apps or social media, which compress high resolution blanket photos significantly.

Choosing the Best Photos for Blanket Printing
Beyond resolution, the content and quality of your source photos dramatically affect the final result. Blanket photo selection is an art that balances emotional significance with technical printability.
Well-lit photos for blanket printing reproduce best. Natural daylight produces the most accurate colors and reduces harsh shadows that can obscure facial features at blanket scale. Photos taken outdoors on overcast days or near large windows produce soft, even lighting that translates beautifully to fabric. Avoid photos taken in dim restaurants, dark venues, or backlit situations where faces are silhouetted against bright backgrounds.
Candid versus posed photos both work well, but ensure that faces are clear, in focus, and large enough in the frame. A landscape photo where people appear as tiny figures in the distance will produce unrecognizable faces on a blanket. For group photos, verify that each person's face is at least 200-300 pixels across in the source image.
Pet photo blanket designs work best with close-up shots where the animal's eyes are sharp and well-lit. Eye clarity is the single most important element in pet photography — if the eyes are sharp and bright, the entire image reads as high-quality even if other areas are slightly soft. Outdoor pet photos with natural lighting consistently produce the best blanket results.
Landscape and scenic photos make stunning single photo blanket designs. Sunsets, beaches, mountain vistas, and autumn foliage create dramatic full-bleed blankets that double as home décor. For landscapes, choose images with strong color contrast and clear focal points rather than muddy or hazy compositions.

Single Photo vs Collage — Which Layout to Choose
The layout decision shapes the entire visual impact of your personalized photo blanket. Each approach serves different goals and works best with different source material.
A single photo blanket creates dramatic, gallery-quality impact with one high-resolution image spanning the entire blanket surface. This layout works best when you have one outstanding photograph — a professional portrait, a breathtaking landscape, a pet close-up, or a milestone moment captured in perfect clarity. The single-image approach demands the highest resolution source photo but produces the most visually striking result.
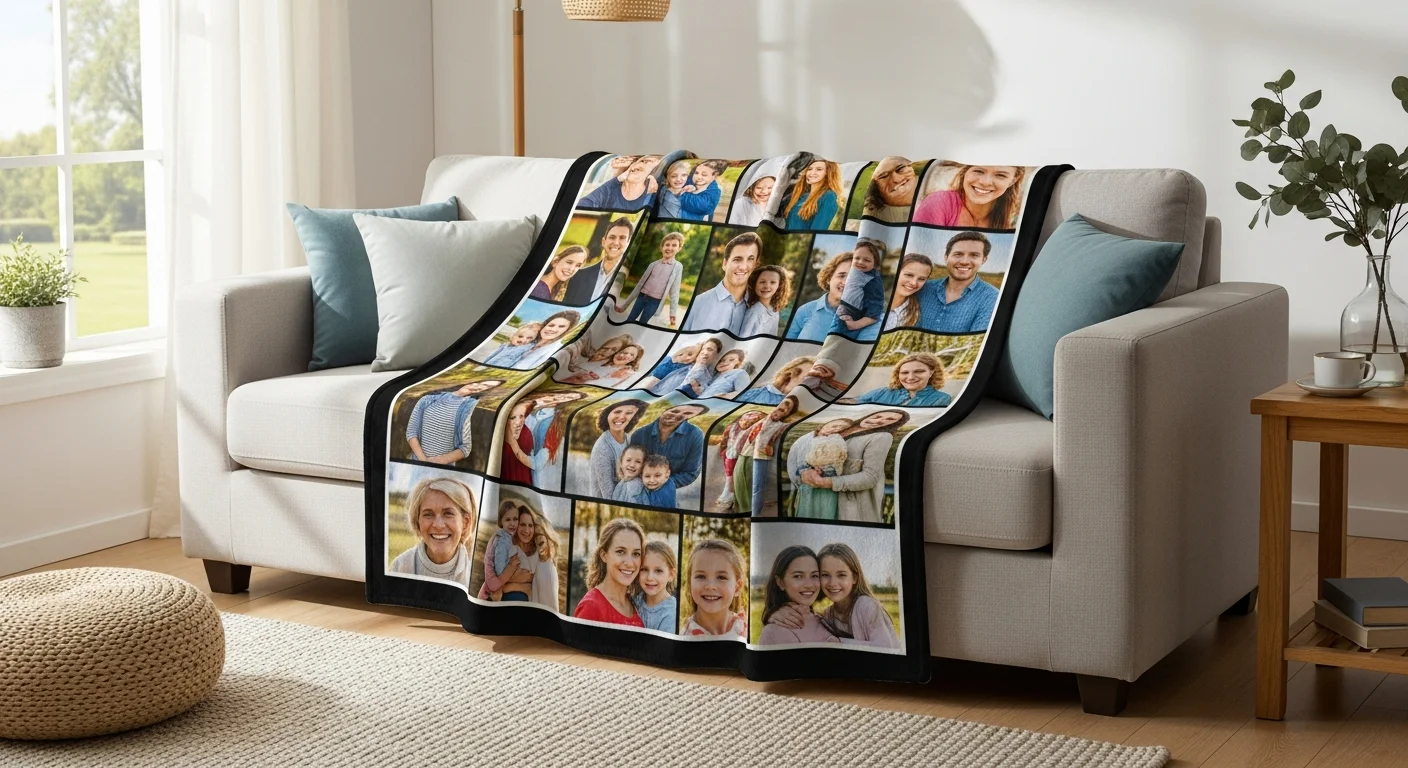
A photo collage blanket arranges multiple images across the blanket surface, telling a broader story than any single photo can. Grid layout blanket designs use symmetrical rows and columns (4, 6, 9, 12, or 16 photos) for a clean, organized aesthetic. This is the most popular collage format for family photo blanket designs where parents want to feature multiple children, vacations, or milestones.
A heart collage blanket arranges photos in a heart shape — a romantic layout ideal for couple photo blanket gifts, Valentine's Day presents, and anniversary keepsakes. The heart shape creates an immediately recognizable emotional symbol that elevates the blanket from a simple photo display to a statement of love.
Scattered photos blanket designs position images at various angles and overlapping positions, creating a casual, scrapbook-like feel. This layout is the most forgiving for photos of varying quality because the overlapping arrangement hides edges and the creative composition distracts from minor imperfections.
Decision guide: use a single photo when you have one exceptional image; use a grid collage for 4-12 photos of consistent quality; use a heart or shape collage for romantic or themed gifts; use a scattered layout when you have many photos of varying quality and want a casual, fun feel.

Collage Layout Best Practices
Creating a polished blanket collage layout requires attention to spacing, consistency, and visual flow. These best practices ensure your multi-photo blanket looks intentionally designed rather than hastily assembled.
Maintain even spacing between photos — 0.25" to 0.5" gaps between images create breathing room that prevents the collage from feeling cramped. Consistent gaps also provide visual structure that helps the eye distinguish individual photos clearly. Most photo blanket mockup tools handle spacing automatically when you use pre-built templates.
Keep photo orientation consistent. Mixing landscape and portrait photos randomly creates an uneven, chaotic appearance. If you must mix orientations, group similar orientations together or use a template that accommodates both formats in a structured way. Cropping all photos to the same aspect ratio before uploading ensures the cleanest grid alignment.
Place the most important or highest-quality photo in the center or largest position. The eye naturally gravitates to the center of any composition, so your best image should occupy that prime real estate. For grid layouts with an odd number of positions (9, for example), the center cell is the focal point. For even grids, the upper-left and center-top positions receive the most attention.
Choose a photo blanket background color that complements your photos without competing for attention. Dark backgrounds (navy, charcoal, black) make light-toned photos pop and create a sophisticated, gallery-like feel. Light backgrounds (white, cream, soft gray) work well with colorful, vibrant photos. Avoid bright or neon backgrounds that clash with natural photo tones.
Color Accuracy — From Screen to Fabric
Understanding the gap between screen colors and printed colors prevents disappointment and helps you prepare photos that produce the best possible results. Photo blanket color accuracy is influenced by the fundamental difference between how screens and printers reproduce color.
Your monitor displays colors using RGB (red, green, blue) light — an additive color model where combining all colors produces white. Blanket printing uses either CMYK inks (for some printing methods) or sublimation dyes that work in a subtractive color model. This means some RGB colors — particularly vivid neon greens, electric blues, and hot pinks — cannot be exactly reproduced in print. Expect a slight color shift from screen to fabric, especially in highly saturated tones.
For the most accurate color reproduction, prepare photos in sRGB blanket printing color space. sRGB is the standard color profile used by most consumer cameras, smartphones, and web applications, and it maps most reliably to sublimation printing processes. Photos saved in Adobe RGB or ProPhoto RGB may exhibit unexpected color shifts when converted during printing.
Avoid heavily filtered photos from social media. Instagram photos on blanket often produce unexpected results because Instagram filters add color casts, contrast adjustments, and saturation changes that look appealing on screen but translate poorly to fabric printing. If possible, use the original unfiltered photo and apply only minor brightness and contrast adjustments.
Request a fabric swatch or sample if color precision is critical — for brand-specific colors on corporate blankets, matching nursery décor palettes, or memorial blankets where the exact skin tone of a loved one matters deeply. Most providers can print a small test swatch before committing to a full-size blanket production run.

Adding Text to Photo Blankets
Well-placed text on photo blanket designs adds context, emotion, and personalization that photos alone cannot convey. Names, dates, quotes, and messages transform a photo blanket from a display piece into a deeply personal keepsake.
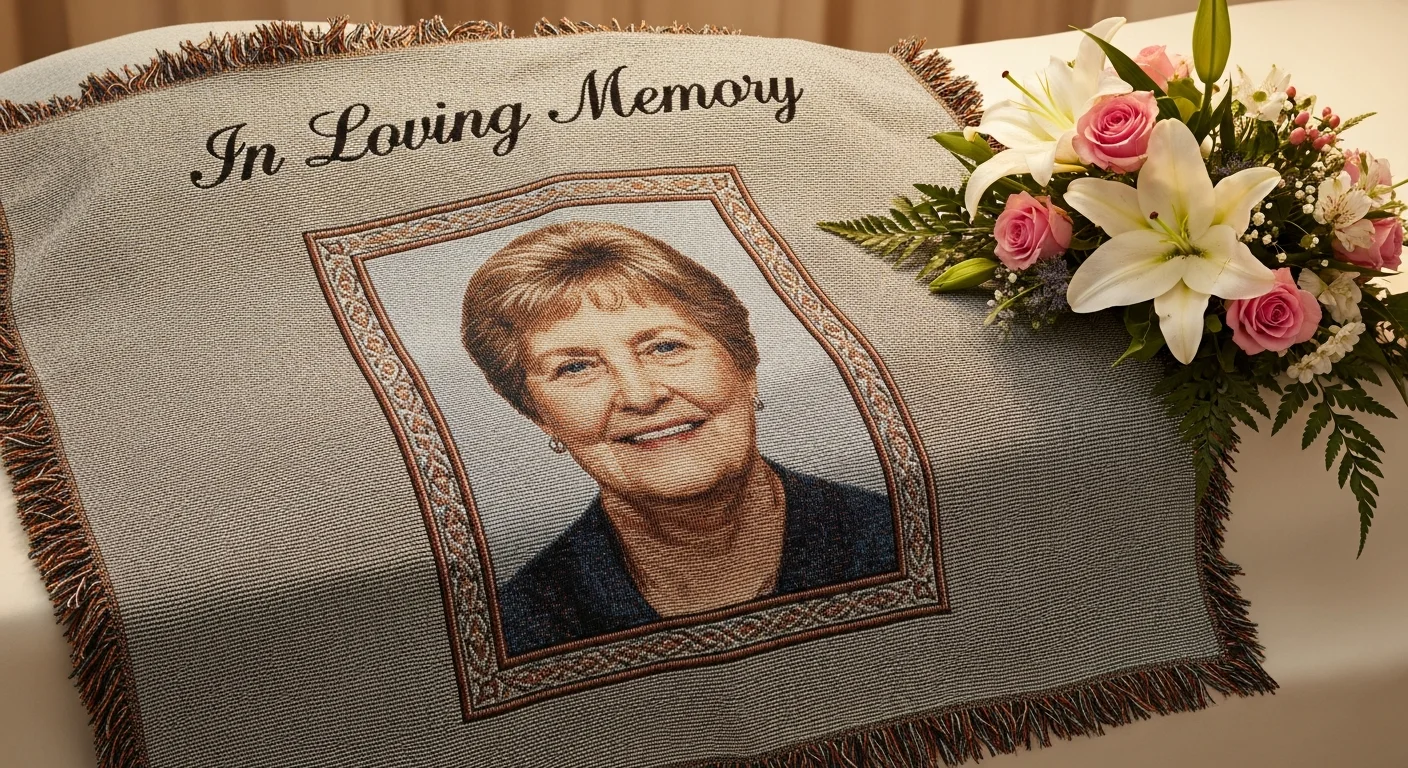
Popular text additions include: names and titles ("The Johnson Family," "Grandma's Little Ones"), dates ("Est. 2015," "June 14, 2026"), quotes and lyrics ("You are my sunshine," "Always in our hearts"), and dedications ("In Loving Memory of..."). A photo blanket caption below a central image provides context without cluttering the design.
Font selection matters significantly at blanket scale. Sans-serif fonts (Arial, Helvetica, Montserrat) project a clean, modern aesthetic. Serif fonts (Times, Georgia, Playfair Display) convey elegance and tradition. Script fonts (Great Vibes, Dancing Script) add romantic flair but must be used at larger sizes to remain legible — script fonts below 1.5 inches tall become difficult to read on textured blanket fabric. For comprehensive typography guidance, see the custom blanket design tips guide.
Text placement should complement rather than compete with photos. Position text below photo grids, along the top or bottom border, or in designated gaps within the collage layout. Ensure strong contrast between text color and the background it sits on — white text on dark areas, dark text on light areas. Avoid placing text over busy photo areas where it becomes illegible.

Photo Blanket Printing Quality by Material
The blanket material you choose directly affects how your photos reproduce. Each fabric surface interacts differently with sublimation dyes, producing distinct visual characteristics that suit different photo styles and preferences.
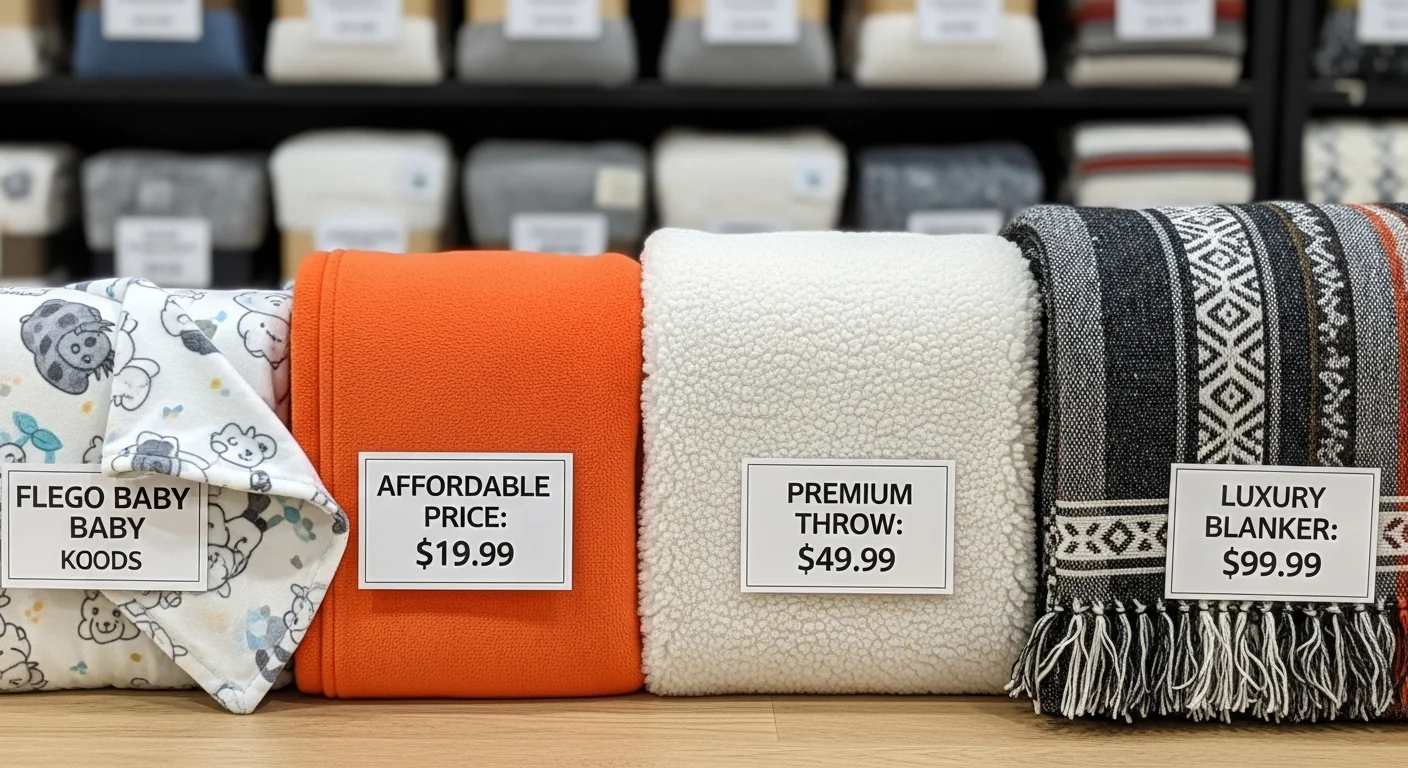
Fleece produces the sharpest, most vibrant photo reproduction among all custom blanket materials. The smooth polyester surface accepts sublimation photo blanket dyes evenly, creating crisp details and saturated colors with edge-to-edge photo blanket coverage. Fleece is the default recommendation for photo-focused blankets where image clarity is the top priority.
Sherpa blankets print photos on the smooth polyester front while the fuzzy sherpa backing provides warmth and luxury. The front-side print quality is comparable to fleece — vibrant and detailed. The dye sublimation blanket quality on sherpa's printed face is excellent, though the blanket's overall weight and premium texture make it a gift-oriented choice rather than an everyday throw.
Woven blankets recreate photos using colored yarns, producing an artistic, impressionist effect rather than photographic precision. Fine details and sharp text may appear slightly softened in the woven format. Woven photo blankets are chosen specifically for their unique textured aesthetic — they are heirloom-quality pieces that prioritize artistic character over pixel-perfect reproduction.
Minky fabric's ultra-soft plush texture means that extremely fine photo details may be slightly less crisp compared to smooth fleece. However, minky produces warm, appealing color reproduction that works beautifully for baby photos, pet portraits, and images where softness of both fabric and image is desirable. For a full material comparison, read the fleece vs sherpa vs woven blanket materials guide.
Preparing Photos From Different Sources
Where your photos come from determines their suitability for blanket printing. Different sources produce different quality levels, and knowing how to get the best from each source prevents common photo blanket cropping and quality problems.
Smartphone photos are the most common source and are generally well-suited for blanket printing. Modern smartphones (iPhone 12 and newer, Samsung Galaxy S21 and newer) capture photos at 12-48 megapixels — more than sufficient for even queen-size blankets. The key is using the original photo from your camera roll, not a version that has been shared through messaging apps or downloaded from cloud services, which often compress images.
Social media downloads are the most common source of resolution problems. Facebook, Instagram, and Twitter compress uploaded images significantly to save storage space. A photo that was originally 4,000 x 3,000 pixels may be reduced to 1,080 x 810 pixels after Instagram processing — far below the minimum for a quality photo blanket. Always go back to the original file on the photographer's phone or camera.
Scanned printed photos can produce excellent blanket results when scanned at 600 DPI or higher. Use a flatbed scanner rather than a phone camera to avoid reflections, distortion, and uneven lighting. For vintage or damaged photos, consider basic restoration (dust removal, scratch repair, color correction) using photo editing software before uploading.
Professional photographer files are the gold standard — request the highest resolution exports available, typically in TIFF or high-quality JPEG format. Wedding photographers, portrait studios, and event photographers usually provide files at 3,000-6,000 pixels on the longest side, which is ideal for blanket printing. Ensure you have usage rights for any professional photos you plan to print on blankets.
Common Photo Blanket Mistakes and How to Avoid Them
Years of producing blanket with pictures have revealed a consistent set of mistakes that first-time buyers make. Each is entirely preventable with proper preparation.
Using screenshots instead of original photos. Screenshots capture your screen at screen resolution (typically 72-96 DPI) — far below the 300 DPI ideal for blanket printing. Even a screenshot of a high-resolution photo reduces it to screen dimensions. Fix: always use the original photo file from your camera roll or computer.
Cropping too tightly. Photo blanket cropping mistakes happen when important content extends to the very edge of the blanket. During the finishing process, blankets may lose 0.25-0.5 inches on each edge due to hemming or cutting. Heads, hands, and text at the extreme edges may be partially or fully trimmed. Fix: keep all critical content within the inner 95% of the blanket area and use the safe-zone guides provided by the design tool.
Mixing photo quality levels in a collage. One low-resolution or poorly lit photo alongside several crisp, bright images creates a jarring visual inconsistency that draws attention to the weakest image. Fix: select photos of similar quality and lighting conditions, or use the lower-quality images in smaller collage positions where their limitations are less noticeable.
Forgetting about the fold. A blanket draped over a couch displays its center panel prominently while the top and bottom edges fold behind or drape over the sides. Important content (faces, names, key text) placed at the extreme top or bottom of the blanket may be hidden during typical use. Fix: position the most important elements in the center third of the blanket where they remain visible when the blanket is folded or draped.
Ignoring the proof. The digital proof exists for a reason — it shows exactly how the finished blanket will look. Skipping the proof review or glancing at it casually leads to missed typos, misplaced elements, and color surprises. Fix: review the proof on a large screen at full zoom, check every text element for spelling and accuracy, and verify that photo blanket aspect ratio and cropping look correct before approving production.
Create Your Photo Blanket with RareCustom
Ready to turn your favorite photos into a custom photo blanket that sparks joy every time you wrap up? RareCustom's free online design tool makes it effortless — upload your photos, choose from dozens of collage templates, adjust cropping and positioning, add text, and preview your finished blanket on a realistic mockup before ordering.
Every photo blanket gift order includes a free digital proof for your approval before printing begins. No minimum order requirements mean you can order a single throw for a birthday gift or dozens for a family reunion. With sublimation printing on premium fleece and sherpa materials, your photos will be vibrant, sharp, and built to last through years of regular use and machine washing. For best results, follow the photo preparation tips in this guide and review your proof carefully before approving production.
Related Articles
Share this article
Written by
Rohan Mehta
Head of Marketing at RareCustom. Former business journalist at Retail Dive. Rohan's expertise in visual storytelling helps customers create photo blankets that truly stand out.