How to Design a Custom Poster: Step-by-Step Beginner Guide
Learn how to design a custom poster from scratch with this beginner-friendly guide. Covers purpose, sizing, color palettes, typography, layout, image handling, design tools, and file preparation for print.
Camille Dupont
Senior Designer at RareCustom. Camille guides customers through the poster design process from concept to print-ready artwork with professional techniques.
Designing a custom poster does not require professional design skills. With a clear process, the right tools, and some fundamental design principles, anyone can create a poster that looks polished, communicates effectively, and prints beautifully. This guide walks you through every step from blank canvas to print-ready file.
Whether you are designing a motivational quote poster, a photo poster for your wall, or an event announcement, these principles apply universally.
Step 1: Define Your Poster's Purpose
Before opening a design tool, answer these questions: Who is this poster for? Where will it be displayed? What is the single most important message? A poster for your living room has different design requirements than a poster for a trade show booth.
Home decor posters prioritize aesthetics and personal meaning. You have creative freedom to choose any style, color palette, and composition that resonates with your space and taste.
Event and promotional posters prioritize information delivery. The viewer needs to quickly understand what, when, where, and how to participate. Clarity trumps creativity.
Business and signage posters prioritize brand consistency and readability from a distance. Use your brand colors, fonts, and logo. Keep text large and messaging concise. See our business poster guide for more on commercial design.
Step 2: Choose the Right Size
Size affects everything about your design — font sizes, image resolution, layout proportions, and cost. Select your size before you start designing, not after. Common sizes and their best uses:
8x10 or 11x17: Small posters for desk displays, table-top promotions, and gift inserts. Use for intimate, close-up viewing.
18x24: The most versatile mid-size option. Works for wall art, room decor, retail displays, and event signage.
24x36: The classic large poster. Makes a statement on walls, in lobbies, and at events. The most popular size for home decor.
36x48 and larger: Oversized impact for retail windows, trade shows, and large wall installations. See our large format guide for detailed sizing information.
For detailed dimension options, read our custom poster sizes guide.
Step 3: Select Your Color Palette
A cohesive color palette gives your poster a professional, intentional look. Limit your palette to 3-5 colors: a dominant background color, a primary accent color, a secondary accent, and text colors (dark for body text, your accent for highlights).
Color psychology matters for promotional posters: red creates urgency, blue conveys trust, green signals nature and health, yellow demands attention, and black communicates sophistication. For home decor posters, match your palette to the room where the poster will hang.
Contrast is critical: Ensure strong contrast between text and background. Dark text on light backgrounds and light text on dark backgrounds are the two foundational approaches. Avoid placing text on busy photographic backgrounds without a solid or semi-transparent overlay to ensure readability.

Step 4: Typography and Font Pairing
Typography makes or breaks a poster design. Here are the core principles:
Font hierarchy: Use different sizes and weights to create visual hierarchy. Headlines should be the largest text. Subheadings medium. Body text smallest. This guides the viewer's eye through the information in the intended order.
Font pairing: Use a maximum of two fonts per poster. Pair a decorative or display font (for headlines) with a clean, readable font (for body text). A classic pairing is a bold serif headline with a clean sans-serif body, or a script/decorative headline with a simple serif body.
Font sizing for print: For posters viewed from 3-5 feet (home decor, office), minimum body text size is 14pt. For posters viewed from 10+ feet (signage, trade shows), minimum body text is 24pt and headlines should be 48-72pt or larger.
Avoid common mistakes: Never use more than two fonts. Never use Comic Sans, Papyrus, or Curlz (ever). Never stretch or distort fonts. Never set entire paragraphs in uppercase — it reduces readability by 13-18% according to typography research.
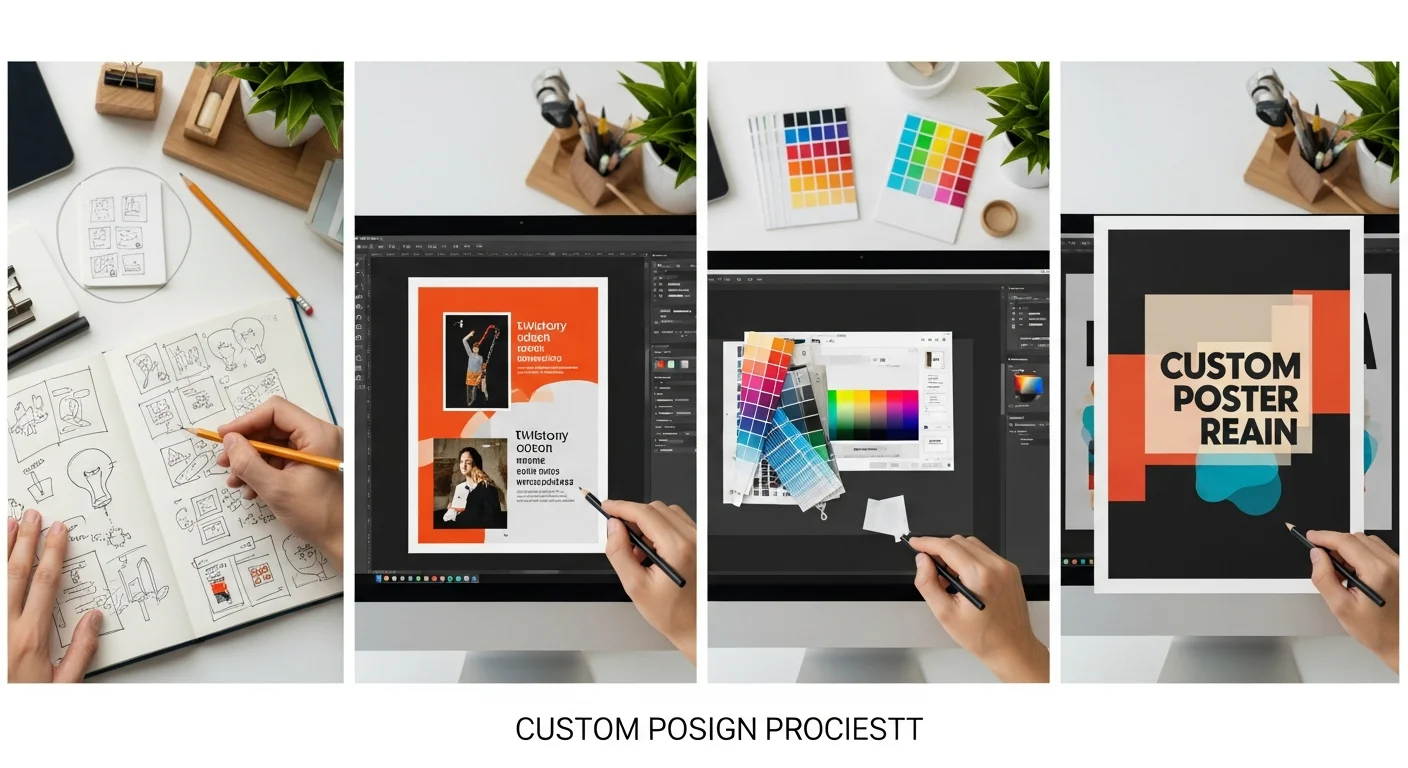
Step 5: Layout and Composition
Good layout guides the viewer's eye through the poster content in a logical sequence. Start with these composition principles:
Visual hierarchy: The most important element (headline, key photo, logo) should be the largest and most prominently placed. Secondary elements support and elaborate. Tertiary elements (dates, fine print, credits) are smallest and placed last in the visual flow.
White space: Do not fill every inch of the poster. White space (empty areas) gives the eye room to rest, makes the design feel less cluttered, and actually draws more attention to the content that is there. Aim for at least 20-30% white space.
Alignment: Align elements to a consistent grid. Text blocks should share a left edge. Images should align with each other. Random, unaligned elements create visual chaos.
Rule of thirds: Divide your poster into a 3x3 grid. Place key elements along the grid lines or at their intersections for naturally balanced composition.

Step 6: Working with Images and Photos
Images add visual interest, emotional impact, and context to your poster. Here are best practices:
Resolution matters: For close-up viewing, images need 300 DPI at the final print size. For posters viewed from 3+ feet, 150 DPI is acceptable. Low-resolution images appear blurry and pixelated when printed large — always check resolution before finalizing your design.
Image placement: Position photos where they support the poster's hierarchy. A large background image with text overlaid creates drama. A contained photo with text alongside creates clarity. Never place text over a busy photograph without a solid or semi-transparent overlay.
Photo editing: Basic adjustments — brightness, contrast, saturation, and cropping — significantly improve print results. Photos that look good on a backlit screen often print slightly darker, so increase brightness by 10-15% before printing.
Step 7: Using an Online Poster Design Tool
You do not need professional software like Photoshop or Illustrator to design a great poster. Our free online poster maker provides everything you need:
Text editor: Add, style, and position text with full control over font, size, color, alignment, and spacing.
Image upload: Drag and drop your photos onto the canvas. Resize, crop, and position them visually.
Templates: Start from pre-designed templates for common poster types — event announcements, photo prints, typography art, business signage.
Live preview: See exactly how your poster will look before ordering. Adjust colors, layout, and sizing in real-time. The tool warns you if image resolution is too low for your selected size.
Step 8: File Format and Resolution for Print
When exporting your design for printing, use these settings:
File format: PDF is the most reliable format for print because it preserves fonts, colors, and layout exactly. PNG and TIFF are excellent for raster (photo-based) designs. Avoid JPEG for large posters — compression artifacts become visible at print size.
Resolution: Export at 300 DPI for standard posters, 150 DPI for large format posters (36+ inches) viewed from distance. Our design tool handles this automatically.
Color mode: CMYK for professional printing. RGB colors can shift during conversion. If using our design tool, the export handles color conversion automatically.
Bleed: Add 0.125 inches of bleed on all sides if your design extends to the edges. This ensures no white edges appear after trimming.
Step 9: Common Design Mistakes to Avoid
Too much text: Posters are visual media. If your poster reads like a document, it has too much text. Edit ruthlessly — keep only the essential message.
Poor contrast: Light text on medium backgrounds, or dark text on medium-dark backgrounds, creates readability problems. Use high-contrast combinations.
Inconsistent styling: Mixing too many fonts, colors, or design elements creates visual noise. Stick to your defined palette and font pair.
Ignoring the viewing context: A poster designed for close-up desk viewing looks very different from one designed for a 20-foot viewing distance. Design for the actual display environment.
Step 10: Order Your Finished Poster
Once your design is complete, choose your material (paper, canvas, metal, foam board, vinyl, or acrylic), confirm your size, and order. For material recommendations, check our poster materials guide.
With RareCustom, there are no minimum orders. Print a single poster or a collection. Free shipping on orders $75+. 100% satisfaction guarantee. And if you need design help, contact our team — we review thousands of poster designs and can offer guidance to make yours even better.

Share this article
Written by
Camille Dupont
Senior Designer at RareCustom. Camille guides customers through the poster design process from concept to print-ready artwork with professional techniques.