How to Design a Custom Hoodie: Beginner's Step-by-Step Guide
Learn how to design your first custom hoodie from scratch. A complete beginner's walkthrough covering design tools, file setup, color choices, and placement tips.
Jordan Reeves
Brand Experience Strategist at RareCustom. BFA in Graphic Design from Parsons School of Design with 8+ years helping brands craft visual identities. Specialist in color theory, layout composition, and design systems.
Designing your first custom hoodie should feel exciting, not overwhelming. Whether you are creating merchandise for your brand, spirit wear for your team, or a one-of-a-kind piece for yourself, this guide walks you through every step from blank canvas to finished design.
No design experience required. By the end of this guide, you will understand how to choose colors, place your artwork, select fonts, and prepare files that print beautifully on any hoodie.
Step 1: Define Your Purpose
Before you open any design tool, answer these three questions:
- Who is wearing this hoodie? The audience shapes everything from color choices to design complexity. A corporate hoodie needs a different approach than a streetwear drop.
- Where will it be worn? Everyday casual wear, athletic events, or promotional giveaways each call for different design intensities.
- What is the core message? A logo, a slogan, artwork, or a combination. Nail this down first so your design stays focused.
Step 2: Choose Your Hoodie Style and Color
Your hoodie color is the foundation of your design. Dark hoodies like black, navy, and charcoal are the most popular because they hide wear and stains while making light-colored designs pop. Light hoodies in heather grey, white, or cream work well for detailed or multicolor artwork.
Decide between a pullover or zip-up style based on your print needs. Pullovers give you a full front canvas, while zip-ups work best with back designs and small front logos.

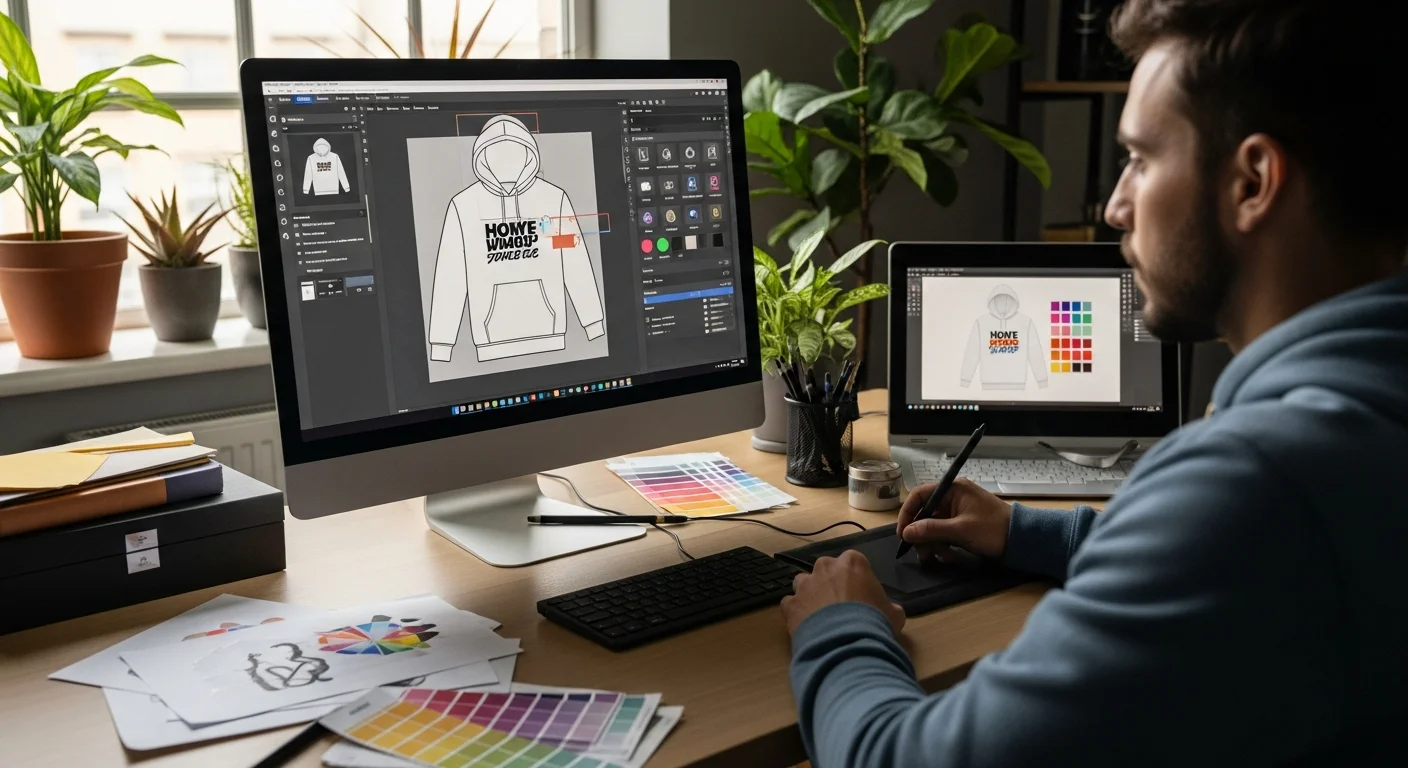
Step 3: Set Up Your Design File
If you are using a design program like Canva, Illustrator, or Photoshop, start with these specifications:
- Resolution: 300 DPI minimum for crisp printing
- Color mode: RGB for DTG and sublimation printing, CMYK for screen printing
- File format: PNG with transparent background is the most versatile
- Dimensions: At least 4000 by 4000 pixels for full-front designs
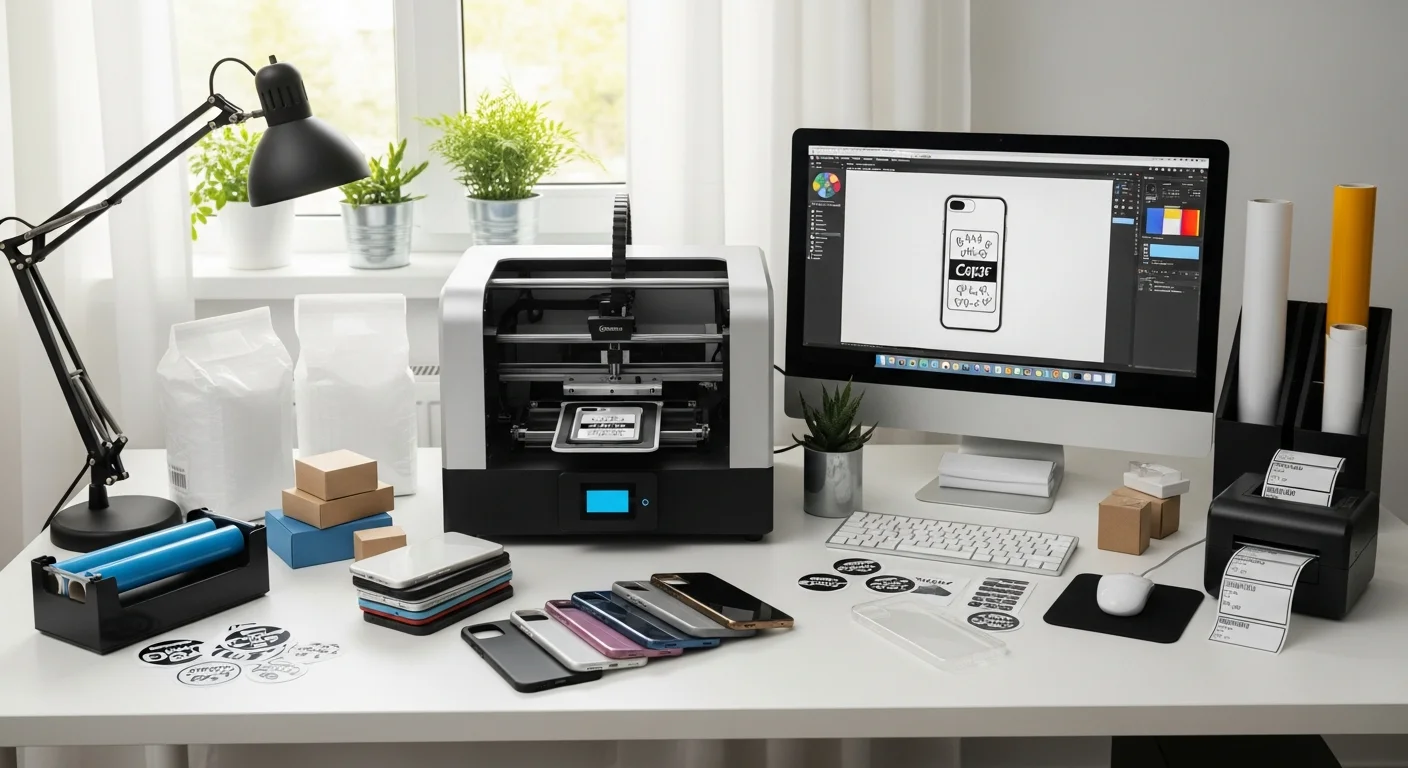
If you do not have design software, our free online design tool handles all of these settings automatically. Upload your images, add text, and arrange elements directly on a hoodie template.
Step 4: Design Placement
Where you place your design matters as much as the design itself. Here are the most common placement options for hoodies:
Front Placements
- Full front: Large graphic covering most of the chest area. Maximum visual impact.
- Left chest: Small logo or emblem. Professional and understated.
- Center chest: Medium graphic between the collarbone and mid-chest. Balanced and visible.
Back Placements
- Full back: The largest print area on a hoodie. Perfect for detailed designs, names, or numbers.
- Upper back: Between the shoulder blades. Visible even when seated.
Additional Areas
- Sleeves: Text or small graphics running down one or both sleeves.
- Hood: Interior or exterior hood printing for a surprise design element.
For a deeper dive into positioning, check out our hoodie design placement guide.

Step 5: Choose Your Typography
If your design includes text, font selection is critical. On hoodies, you need fonts that remain readable even on textured fleece fabric:
- Bold sans-serif fonts like Montserrat, Bebas Neue, or Impact work best for headlines and team names
- Script fonts can add personality but should be used at larger sizes to maintain legibility
- Avoid ultra-thin fonts as fine lines can get lost in the hoodie's fabric texture
Read our complete best fonts for hoodies guide for detailed typography recommendations.
Step 6: Color Selection
The colors in your design need to contrast with your hoodie color. Light designs on dark hoodies and dark designs on light hoodies create the strongest visual impact. Limit your palette to two or three colors for the cleanest look, especially if you are using screen printing.
For DTG printing, you can use unlimited colors and even photographic images without additional cost. This method is ideal for complex, multicolor designs on custom hoodies.
Step 7: Preview and Refine
Always preview your design on a digital mockup before ordering. Check for:
- Text readability at the actual print size
- Color contrast against the hoodie color
- Design placement symmetry
- Image resolution quality at full size
Our design tool shows real-time previews on the actual hoodie template so you can see exactly how your finished product will look before placing your order.
Step 8: Place Your Order
Once your design is finalized, select your sizes, quantities, and preferred printing method. For single pieces or small orders, DTG printing offers the best per-unit value. For orders of 24 or more, screen printing typically becomes more cost-effective.
Frequently Asked Questions
Do I need to be a graphic designer to create a custom hoodie?
Not at all. Our free design tool is built for beginners with drag-and-drop functionality, pre-made templates, and a built-in text editor. You can create a professional-looking hoodie design in minutes without any design experience.
What file format should I upload for the best print quality?
PNG files with transparent backgrounds at 300 DPI produce the best results. If you have vector files (AI, SVG, or EPS), those are even better as they can scale to any size without quality loss.
How many colors can I use in my hoodie design?
With DTG printing, there is no color limit. Screen printing costs increase with each additional color, so designs with one to three colors are most cost-effective for that method. Compare printing methods to find the best fit for your design.
Can I see a physical sample before ordering in bulk?
Yes. We recommend ordering a single sample hoodie to check colors, placement, and fabric feel before committing to a larger order. This small upfront investment can save you from costly surprises.
Share this article
Written by
Jordan Reeves
Brand Experience Strategist at RareCustom. BFA in Graphic Design from Parsons School of Design with 8+ years helping brands craft visual identities. Specialist in color theory, layout composition, and design systems.