Custom Patches for Jackets: Types, Placement Ideas & How to Design Your Own
Learn everything about custom patches for jackets — from embroidered and woven to PVC and chenille types. Discover ideal placement positions, backing options, design tips, and how to order your own custom patches.
Terrence Okafor
Head of Production at RareCustom. Terrence's deep knowledge of embroidered, woven, PVC, and chenille patches ensures every custom jacket patch meets quality and placement standards.
Patches are one of the oldest and most versatile forms of garment decoration, and they remain one of the most impactful ways to customize a custom jacket. From the chenille letters on a varsity letterman to the embroidered rockers on a motorcycle club vest, from military unit insignia to Boy Scout merit badges, patches carry meaning, identity, and craftsmanship in a way that printed graphics cannot replicate. A patch is a tactile object — it has dimension, texture, and weight that you can feel when you run your hand across it.
Whether you are designing patches for a team, club, brand, military unit, corporate uniform, or personal fashion project, understanding the different patch types, optimal placement positions, attachment methods, and design principles will help you create patches that look professional and communicate exactly what you intend. This guide covers every aspect of custom patches for jackets.
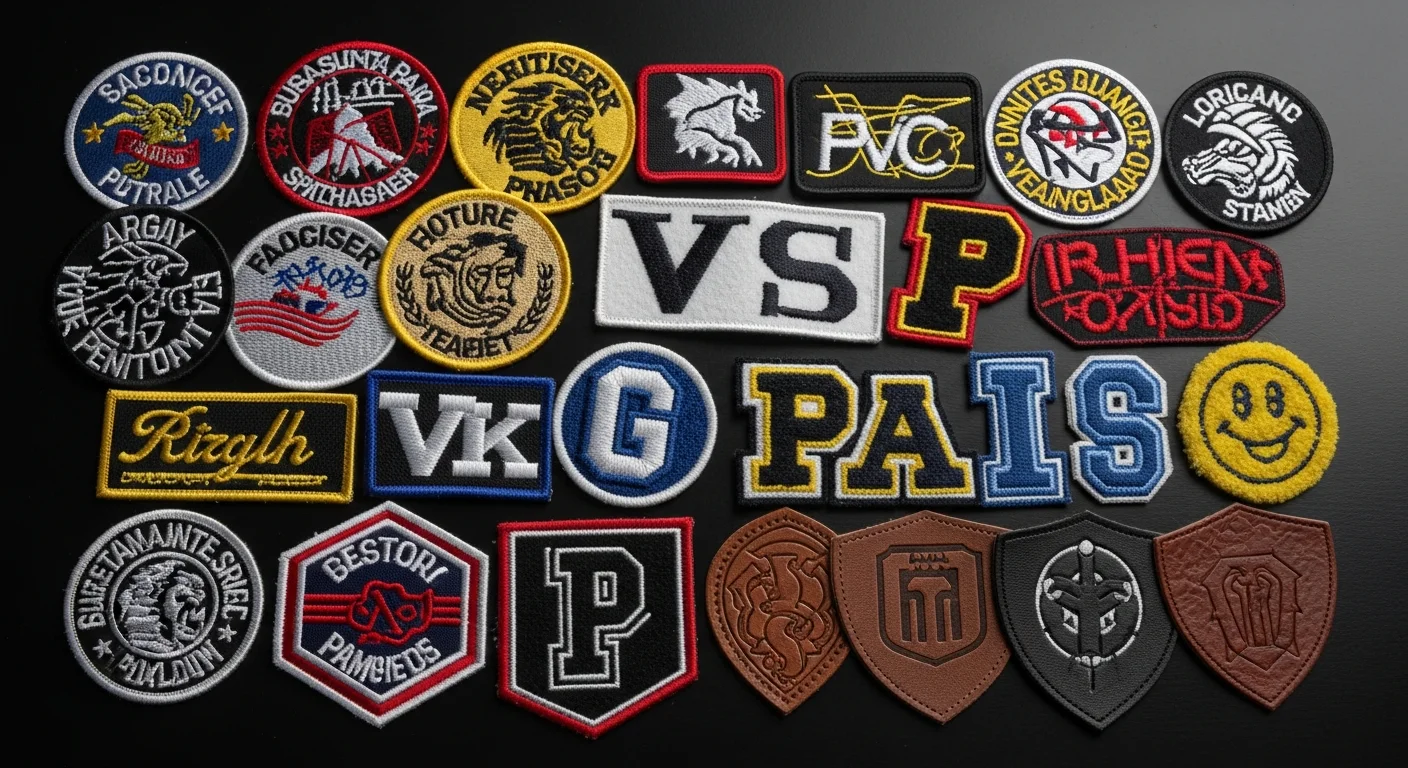
Types of Patches
The type of patch you choose determines its visual character, tactile quality, durability, and price. Here is a breakdown of the six most popular patch types:
Embroidered patches: The most common and widely recognized patch type. Created by stitching colored threads onto a fabric backing using computerized embroidery machines. Embroidered patches are durable, colorful, and appropriate for virtually any application — from corporate logos to biker club insignia. They work best for designs with bold lines and limited small text.
Woven patches: Produced on a loom rather than an embroidery machine. The design is woven directly into the fabric using thin threads, resulting in a smooth, flat surface with significantly more detail capacity than embroidered patches. Woven patches can reproduce small text, fine lines, and intricate graphics with clarity that embroidery cannot match. Ideal for detailed logos and designs with small text.
PVC (rubber) patches: Made from soft, flexible polyvinyl chloride, PVC patches are waterproof, weather-resistant, and extremely durable. They have a clean, modern look with raised and recessed areas creating a three-dimensional effect. Popular for outdoor brands, tactical gear, and military units. They can include glow-in-the-dark or reflective elements and are easy to clean.
Chenille patches: The plush, fuzzy patches traditionally associated with varsity letterman jackets. Made by sewing loops of chenille yarn onto a felt backing, creating a thick, soft, three-dimensional patch with a distinctive texture. Primarily used for letters, numbers, and simple shapes on school and team jackets.
Leather patches: Cut from genuine or faux leather and customized with embossing, debossing, laser engraving, or printing. Leather patches project a premium, heritage quality that complements leather, denim, and canvas jackets. Genuine leather patches develop a patina over time. For more on combining leather patches with custom leather jackets, see our leather jacket options guide.
Printed patches: Full-color designs printed directly onto fabric using sublimation, digital printing, or heat transfer methods. Printed patches reproduce photographic images, complex gradients, and unlimited color palettes. The most affordable option for complex multi-color designs, but generally less durable than embroidered or PVC alternatives. Printed patches are popular for custom jacket designs that feature photographic artwork, team photos, or detailed illustrations where thread-based methods would lose fidelity.

Patch Placement Guide
Where you place a patch on a jacket is as important as the patch design itself. Each placement zone has conventions and visibility characteristics:
Left chest: The most common placement for primary identification patches — company logos, team emblems, unit insignia. Visible during face-to-face interaction. Standard size is three to four inches wide.
Right chest: Typically reserved for secondary identifiers — name tapes, rank or position, flag patches, and certification marks. Keeping the right chest patch smaller maintains clear visual hierarchy.
Upper back (between shoulders): A high-visibility zone for arced text or horizontal rocker patches. Common sizes range from ten to fourteen inches wide. Standard for motorcycle club top rockers and sports team names.
Center back (full back): The largest patch zone on any jacket. Full back patches can span twelve to sixteen inches or more. This is prime real estate for large club logos, mascots, and statement designs. The back panel is flat and uninterrupted, making it ideal for large, detailed patches.
Shoulders: Small to medium patches on the shoulder cap or upper sleeve. Common in military, law enforcement, and emergency services uniforms. Standard shoulder patch size is three to three and a half inches in diameter.
Sleeves (upper arm and forearm): Sleeve patches add visual interest along the arm. Upper arm patches work well for flag patches, small logos, and rank indicators.

Iron-On vs Sew-On vs Velcro Backing
The attachment method determines how the patch connects to the jacket, how permanently it is fixed, and how easy it is to remove:
Iron-on (heat-activated adhesive): A layer of heat-activated adhesive bonds to the jacket fabric when pressed with a hot iron or heat press. Fast application, no sewing skills required. Works well on cotton, polyester, and blended fabrics. For work jackets washed frequently, reinforcing iron-on patches with perimeter stitches extends lifespan. Iron-on does not work on leather or nylon, which can be damaged by heat.
Sew-on: Patches are stitched directly to the jacket by hand or machine. The most permanent and durable attachment method, working on any fabric including leather, canvas, denim, wool, and nylon. Sew-on patches can be removed by cutting threads, making them good for jackets where patches may need updating.
Velcro (hook and loop): A Velcro strip is sewn to both the patch back and the jacket position. The patch attaches and detaches instantly. Ideal for patches that change frequently — military morale patches, tactical gear identifiers, and name tapes. Velcro adds bulk but the convenience of instant swapping is unmatched.

Design Tips for Custom Patches
A well-designed patch communicates its message clearly and works harmoniously with the jacket it will be attached to:
Simplify the design: Patches are small canvases — typically two to four inches for chest patches. Complex designs with many fine details lose clarity at small sizes. A bold, simple design looks more professional than a detailed design that becomes a smudgy mess.
Limit your color palette: Fewer colors produce cleaner, more impactful patches. For embroidered patches, each additional thread color increases cost. Three to five colors is the sweet spot for most embroidered and woven patches.
Use bold outlines and borders: A defined border around the patch edge gives it a finished, contained look and provides a natural sewing boundary. Die-cut patches can skip the border for a more modern look.
Consider the jacket color: Your patch will sit on a specific jacket color, and that background dramatically affects how the patch looks. A dark patch on a dark jacket disappears. A white-bordered patch on a black jacket pops dramatically. Preview patch placement and color combinations using our design tool.
Test at actual size: Print your design at 100% scale on paper and hold it against the jacket in the intended position. This reveals whether text is readable, details are visible, and proportions work.
Creating Your Artwork
The artwork file you provide directly determines the quality of the finished patch:
Vector files preferred: Vector artwork (AI, EPS, SVG, or PDF formats) scales to any size without losing quality. Always the preferred format for patch production.
High-resolution raster files accepted: If you only have a raster image (PNG, JPG, TIFF), ensure it is at least 300 DPI at the intended patch size. For a four-inch patch, the image should be at least 1,200 pixels wide.
Separate colors clearly: For embroidered and woven patches, each color must be clearly defined. Gradients do not translate well to thread-based patches. Convert gradients to flat color zones. If your design requires smooth gradients, opt for printed or sublimated patches.
Specify thread colors: Provide Pantone (PMS) color numbers or reference a standard thread color chart. Describing colors verbally is imprecise — Pantone numbers eliminate ambiguity and ensure brand accuracy.

Sizing Recommendations
Patch size should be proportional to the placement zone and jacket size:
Left and right chest: 2.5 to 4 inches wide. The most common chest patch size is 3.5 inches, fitting comfortably on most jacket styles.
Shoulder: 3 to 3.5 inches in diameter for round patches. The patch should fit on the shoulder cap without wrapping over the edge.
Upper back rocker: 10 to 14 inches wide, 3 to 4 inches tall. Arcs across the upper back between shoulder seams.
Center back: 8 to 14 inches wide and tall. Full-back motorcycle club patches can be up to 16 inches. Center vertically and horizontally with at least one inch of clearance from collar, side seams, and waistband.
Sleeve: 2 to 4 inches wide. Position on the outer arm, centered between shoulder seam and elbow. For team jackets with multiple sleeve patches, arrange them vertically with consistent spacing to create a clean column effect. Our team jackets guide covers patch arrangement strategies for group orders.
Matching Patch Style to Jacket Type
Different jacket materials pair better with certain patch types. Matching the patch aesthetic to the jacket creates a cohesive look:
Varsity jackets: Chenille patches are the traditional choice. Embroidered accent patches complement chenille letters. Leather patches on leather sleeves create a premium monochromatic effect.
Leather jackets: Embroidered and leather patches are the most compatible. PVC patches also contrast attractively with organic leather texture. Always sew or rivet patches onto leather — never use iron-on, which requires damaging heat.
Denim jackets: The most versatile patch canvas. Every patch type works on denim. Denim's casual character invites eclectic arrangements and mixing multiple patch types.
Work jackets (canvas, softshell): Embroidered patches are the standard, matching the professional, durable character of workwear. PVC patches are excellent for outdoor work where weather resistance matters. See our custom work jackets guide for logo placement strategies that complement patch arrangements on branded workwear.
Nylon and technical jackets: Woven and printed patches adhere well to smooth nylon. PVC patches also work with sew-on or Velcro backing. Embroidered patches can pucker lightweight nylon — use a stabilizer during application.
How to Order Custom Patches
The ordering process is straightforward when you come prepared:
Prepare your artwork: Gather your design file in the highest quality format available. Define your color palette with Pantone numbers. Determine the size, shape, and border style.
Choose your patch type and backing: Select the construction type and attachment method based on jacket material and usage requirements.
Request a proof: The manufacturer creates a digital proof showing the finished patch. Check color accuracy, text spelling, design proportions, and border details. Most manufacturers include two to three proof revisions.
Approve and produce: Standard production time for custom patches is two to three weeks. Rush production is often available for additional fee. Large orders (500+) may require additional time.
Quality inspection: When patches arrive, inspect a sampling for color accuracy, stitch quality, backing integrity, and dimensional accuracy. Compare physical patches against the approved proof.
Custom patches transform a plain custom jacket into a storytelling garment. Each patch carries meaning — a team affiliation, an achievement earned, or a brand represented. By selecting the right patch type, placing it thoughtfully, and designing with clarity, your patches will enhance every jacket they adorn. For a comprehensive comparison of all jacket decoration methods — embroidery, screen printing, heat transfer, and patches — explore our complete jacket decoration guide. Ready to start designing? Use our design studio to plan your patch layout and preview placements on your chosen jacket style.
Share this article
Written by
Terrence Okafor
Head of Production at RareCustom. Terrence's deep knowledge of embroidered, woven, PVC, and chenille patches ensures every custom jacket patch meets quality and placement standards.