Custom T-Shirt Mockups: How to Preview Your Design Before Printing
Learn how to create realistic custom t-shirt mockups before placing your order. Free tools, best practices, and tips for visualizing your design on fabric.
Jordan Reeves
Brand Experience Strategist at RareCustom. BFA in Graphic Design from Parsons School of Design with 8+ years helping brands craft visual identities. Specialist in color theory, layout composition, and design systems.
You have spent hours perfecting your design. The colors look great on your screen, the typography is crisp, and the composition feels balanced. But will it look just as good printed on an actual t-shirt? This is the question that keeps first-time custom shirt creators up at night, and it is exactly why mockups exist.
A t-shirt mockup is a digital preview that shows how your design will appear on the actual garment before you commit to printing. It bridges the gap between your screen and the finished product, helping you catch sizing issues, placement errors, and color mismatches before they become expensive mistakes. Whether you are ordering one shirt or one thousand, previewing your custom t-shirt design is a step you should never skip.
Why Mockups Matter Before Ordering
The human brain processes visual information differently on a flat white screen versus a three-dimensional garment. A design that looks proportional in your editing software might appear too small on a large shirt or too large on a small one. Colors that pop on a bright monitor might disappear against a similarly toned fabric. Text that reads clearly at screen resolution might become illegible at print scale.
Mockups solve these problems by placing your artwork in context. They simulate fabric folds, garment shadows, and realistic proportions so you can evaluate the design as it will actually be experienced by the wearer and the people around them. A five-minute mockup review can save hours of frustration and hundreds of dollars in reprinting costs.
Mockups also serve a practical communication purpose. When ordering shirts for a group, sharing a realistic mockup gets everyone aligned on expectations. It is far easier to get approval on a visual preview than to describe a design in words and hope everyone imagines the same thing.
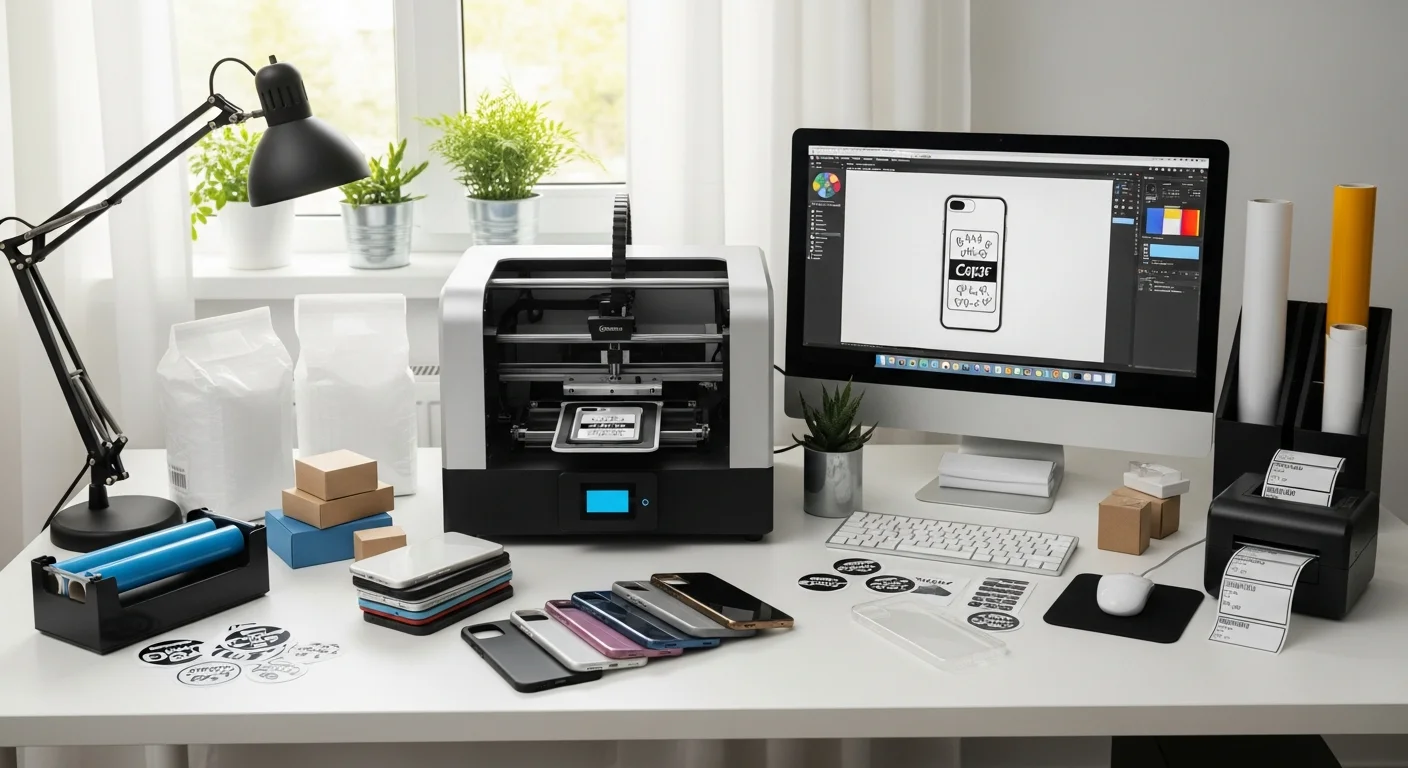
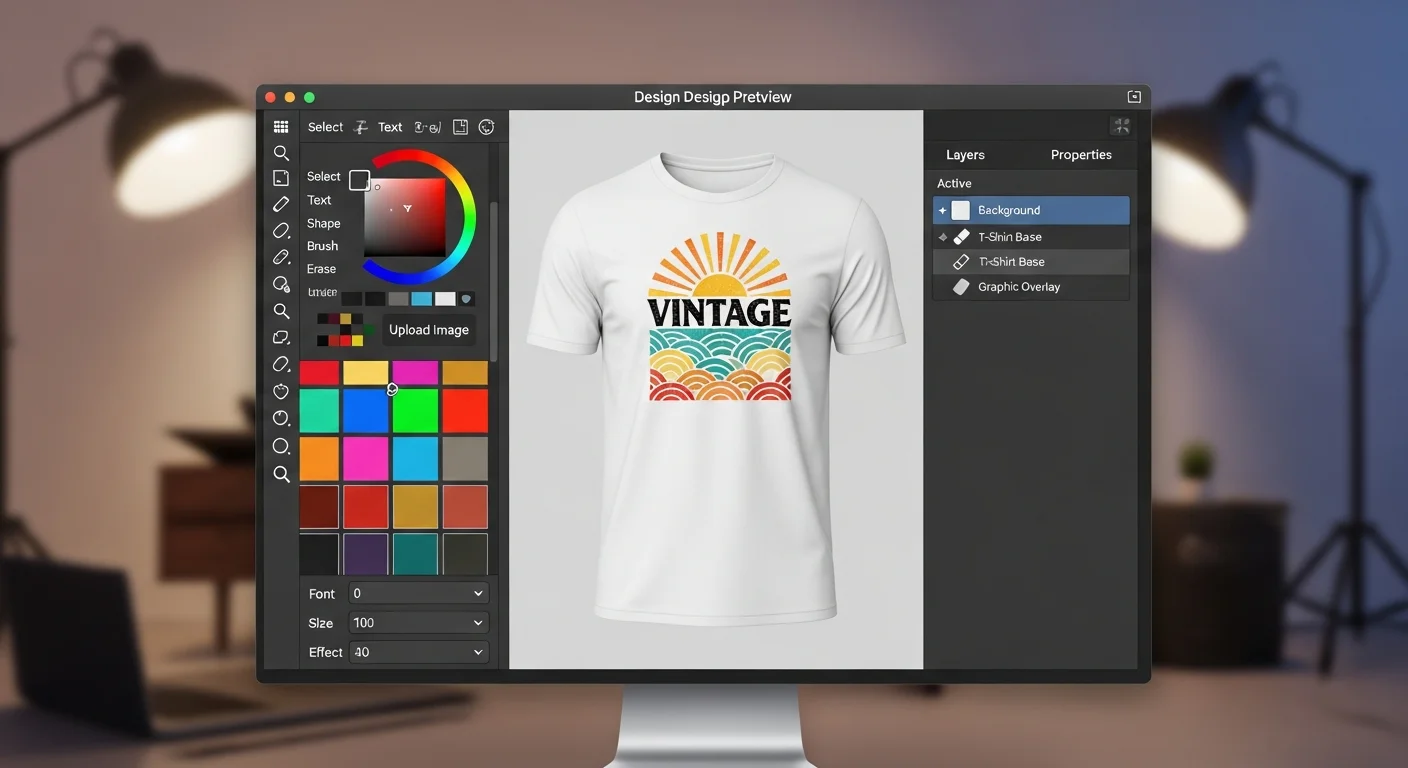
RareCustom's Built-In Design Preview
The easiest way to preview your custom t-shirt design is to use a tool that generates the mockup automatically as you design. The RareCustom design tool renders your artwork on a realistic garment template in real time, updating as you adjust placement, scale, and colors. You can switch between shirt colors and styles without leaving the editor, giving you instant visual feedback on how your design pairs with different garments.
This integrated approach eliminates the traditional workflow of designing in one application, exporting, uploading to a mockup generator, and then going back to make changes. With a built-in preview, every adjustment you make is immediately visible on the garment, making the design process faster and more intuitive.
Understanding Print Area vs Display Area

One of the most common mockup-related misunderstandings is the difference between the display area and the actual print area. The display area on screen may show your design filling the entire front of the shirt, but the printable area is limited by the size of the printing platen or screen.
Standard print areas are approximately 12 inches wide by 14 inches tall for adult front and back prints. Left chest prints are typically 3.5 to 4 inches wide. Sleeve prints range from 3 to 4 inches depending on the garment style. Knowing these dimensions before you start designing ensures your mockup accurately represents what will actually be printed.
When evaluating a mockup, pay attention to the edges of your design. If critical elements like text or small details are positioned near the boundary of the print area, they may be cut off or distorted during printing. Keep a safe margin of at least half an inch from the edge of the printable zone.
Checking Design Scale and Placement
Scale is the number one issue that mockups help you catch. A logo that looks perfectly sized on a medium shirt will appear disproportionately small on a 3XL and potentially too large on an XS. If your order includes a wide range of sizes, review your mockup at the smallest and largest sizes to ensure the design works across the full spectrum.
Placement is equally important. The vertical position of a chest print affects how it interacts with the wearer's body. Too high and it sits awkwardly near the collar. Too low and it lands at the waist. The standard position for a center chest print is approximately three to four inches below the collar seam, but this can vary based on the garment style and the design's visual weight.
For back prints, center the design between the shoulder blades unless it is a full-back design. Names and numbers (common for sports jerseys) should be positioned high enough to remain visible when the shirt is tucked in. Use the mockup to verify these positions before finalizing your order.
Font Rendering in Mockups
Fonts can look dramatically different in a mockup than they do in your design software. Thin serif fonts and delicate script fonts that appear elegant on a high-resolution screen may become hard to read when rendered on a textured fabric mockup. This is actually a useful preview because it approximates how those fonts will perform in the real world.
If your mockup shows that fine text details are getting lost in the fabric texture, consider increasing the font weight, choosing a bolder typeface, or scaling up the text. For guidance on which fonts work best on fabric, our beginner's design guide includes a section on typography best practices for apparel.
Color Accuracy Limitations
Every screen displays color differently. The mockup on your laptop will look different from the same mockup on your phone, which will look different from the final printed shirt. This does not mean mockups are unreliable, but it does mean you should use them for evaluating composition, scale, and placement rather than relying on them for pixel-perfect color matching.
For critical color accuracy, always request a physical sample print. No digital mockup, regardless of how sophisticated, can perfectly replicate the appearance of ink on fabric. Factors like fabric texture, ink opacity, and ambient lighting all affect how colors appear in person. A mockup gets you ninety percent of the way there; a sample print covers the final ten percent. To understand more about how colors translate to fabric, check out our color theory for t-shirt design guide.
Sharing Mockups for Group Approval
When you are ordering shirts for a team, organization, or event, getting stakeholder approval is often the most time-consuming part of the process. Mockups accelerate this step dramatically. Instead of describing the design verbally or sending raw artwork files that people struggle to visualize, send a realistic mockup that shows exactly what the final product will look like.
Best practices for sharing mockups include presenting the design on multiple shirt colors so stakeholders can vote on their preference, showing front and back views if the design includes both, including a size reference by placing the design on different garment sizes, and adding a brief description of the shirt style, fabric, and print method alongside the mockup image.
Many teams use a simple approval workflow: share the mockup in a group chat or email thread, collect feedback within 48 hours, make revisions if needed, and share the updated mockup for final sign-off. This structured approach prevents the endless revision cycles that can derail timelines.
Mockup Tips for Different Shirt Colors

The shirt color you choose significantly impacts how your design is perceived in a mockup. Here are specific tips for the most common garment colors:
- White shirts: The most forgiving canvas. Colors appear vibrant and true. However, very light design elements (pale yellow, light gray) may appear washed out. Increase saturation for light-colored designs on white.
- Black shirts: Requires a white underbase for most printing methods, which can slightly alter color vibrancy. Mockups may show colors more vibrantly than the final print because digital previews do not always account for the underbase effect. Expect printed colors to be five to ten percent less vivid than the mockup.
- Heather and marled fabrics: The textured appearance of heather shirts can make fine details and thin lines look less crisp in both mockup and print. Simplify designs for heather fabrics and increase line weights.
- Bright colored shirts: Red, royal blue, or kelly green shirts can interact with ink colors in unexpected ways. A white design on a red shirt will look clean, but a yellow design on the same red shirt may appear orange. Review the mockup carefully for color interactions.
Front and Back Mockup Considerations
If your design includes both front and back elements, evaluate each side independently and then together. The front and back of a shirt serve different purposes. The front is what people see during face-to-face interactions and should carry the primary design or logo. The back has more space and is ideal for larger graphics, lists (team member names, event dates), or secondary messaging.
Ensure that the front and back designs feel cohesive even though they will rarely be seen simultaneously. Consistent use of colors, fonts, and design motifs ties the two sides together. Your mockup tool should allow you to preview both sides so you can evaluate the overall composition as a unified piece.
Using Mockups for Marketing Before Printing
Mockups are not just for proofing. They are powerful marketing tools. If you are launching a merchandise line, promoting an event, or pre-selling shirts for a fundraiser, realistic mockups let you market the product before it physically exists. Share mockups on social media, embed them in email campaigns, or post them on your website to gauge interest and collect pre-orders.
This approach is especially valuable for avoiding the mistake of printing inventory before validating demand. By using mockups in your marketing, you can confirm that people actually want the design before committing to a production run, saving both money and storage headaches.
Mobile vs Desktop Mockup Viewing
More than half of all web browsing happens on mobile devices, which means your stakeholders and customers are likely viewing your mockups on phones. Always check your mockups on a mobile screen before sharing them. Details that are clear on a 27-inch monitor can become indistinguishable on a 6-inch phone screen.
If your design includes small text, fine lines, or intricate details, zoom into those areas and screenshot the close-up view to share alongside the full mockup. This gives mobile viewers the detail they need to evaluate the design accurately without needing to pinch and zoom on their own.
Frequently Asked Questions
How accurate are t-shirt mockups compared to the final print?
Digital mockups are highly accurate for evaluating design placement, scale, and composition. They typically provide about ninety percent accuracy for color representation. The remaining ten percent gap is due to differences between screen color (RGB) and print color (CMYK or spot ink), fabric texture effects, and variations in monitor calibration. For critical projects, always supplement your mockup review with a physical sample print.
Can I create a mockup without any design software?
Yes. Tools like the RareCustom design editor generate mockups automatically as you create your design, requiring zero design software experience. Simply upload your artwork or create a design using the built-in tools, choose your garment color and style, and the mockup is generated instantly. You can also find free online mockup generators that let you upload a finished design file and place it on a virtual garment template.
Should I approve a mockup or request a physical sample?
For orders under 25 units or designs using standard colors, a digital mockup approval is usually sufficient. For orders over 50 units, orders with critical brand colors, or designs with complex color gradients, always request a physical sample before approving the full production run. The cost of a single sample is negligible compared to the cost of reprinting a large order due to unexpected color or placement issues.
How do I check if my design is the right size using a mockup?
Look for mockup tools that display the print area dimensions alongside the garment. Your design should fit comfortably within the standard print area (approximately 12 by 14 inches for a front or back print on an adult shirt). If your mockup tool does not show dimensions, use a ruler to measure the design on a printed version of the mockup. The design should be proportional to the garment and should not extend beyond the natural boundaries of the chest, back, or sleeve area.
Can I use mockups to sell shirts before they are printed?
Absolutely. Mockups are widely used for pre-selling merchandise, running crowdfunding campaigns, and marketing event shirts before production. This approach validates demand before you invest in printing, reducing the risk of unsold inventory. Share mockups on social media, embed them in pre-order pages, and include them in email marketing to drive interest and collect orders before committing to a print run.
Share this article
Written by
Jordan Reeves
Brand Experience Strategist at RareCustom. BFA in Graphic Design from Parsons School of Design with 8+ years helping brands craft visual identities. Specialist in color theory, layout composition, and design systems.