How to Design a Custom Crewneck Sweatshirt: Complete Beginner's Guide
Step-by-step guide to designing your first custom crewneck sweatshirt. Learn about styles, placement, typography, and how to use online design tools for perfect results.
Jordan Reeves
Brand Experience Strategist at RareCustom. BFA in Graphic Design from Parsons School of Design with 8+ years helping brands craft visual identities. Specialist in color theory, layout composition, and design systems.
Designing your first custom crewneck sweatshirt should be exciting, not overwhelming. Whether you are creating merchandise for your brand, outfitting a team, or making a personalized gift, this guide walks through every step from choosing your blank garment to placing your final order.
The key difference between designing for a sweatshirt versus a t-shirt is the fabric. Sweatshirt fleece is thicker, has a different texture, and behaves differently under printing and embroidery. Understanding these differences upfront leads to better design choices and a finished product you will be proud of.
Understanding Sweatshirt Design vs. T-Shirt Design
Sweatshirt fabric is denser and has a slight nap (texture) that can affect how fine details appear in print. Designs with very thin lines or intricate details may need to be slightly bolder compared to the same design on a smooth cotton t-shirt. The good news is that the heavier fabric handles larger designs beautifully and gives embroidery a premium, dimensional look that lighter fabrics cannot match.
Step 1: Choose Your Crewneck Style
Before designing, pick your base garment. The style you choose affects how your design looks and feels:
Classic fit: Standard body width, traditional length. Works for all ages and body types. The safe, universal choice for groups.
Oversized/boxy: Dropped shoulders, wider body, trendy relaxed silhouette. Popular for streetwear brands and younger audiences. Design placement may shift with the looser fit.
Heavyweight (10-12 oz): Thick, structured, premium feel. Holds its shape after washing and feels substantial. Excellent for embroidery.
Garment-dyed: Pre-dyed for a vintage, lived-in look. Colors are slightly muted and have a softer hand feel. Great for retro-inspired designs.

Step 2: Pick Your Base Color
Your sweatshirt color directly impacts your design. Dark garments require white under-base printing for DTG, which slightly affects the feel of the print. Light garments allow vibrant, soft-hand prints without an under-base. For deeper color guidance, check our color theory guide.
Step 3: Design Placement
Crewnecks offer several prime print locations. The left chest (3 by 4 inches) is the corporate standard. Center chest makes a bold statement. Full front maximizes visual impact. The full back serves as a billboard for detailed designs. Sleeves add a secondary design element. For a comprehensive breakdown, see our placement guide.

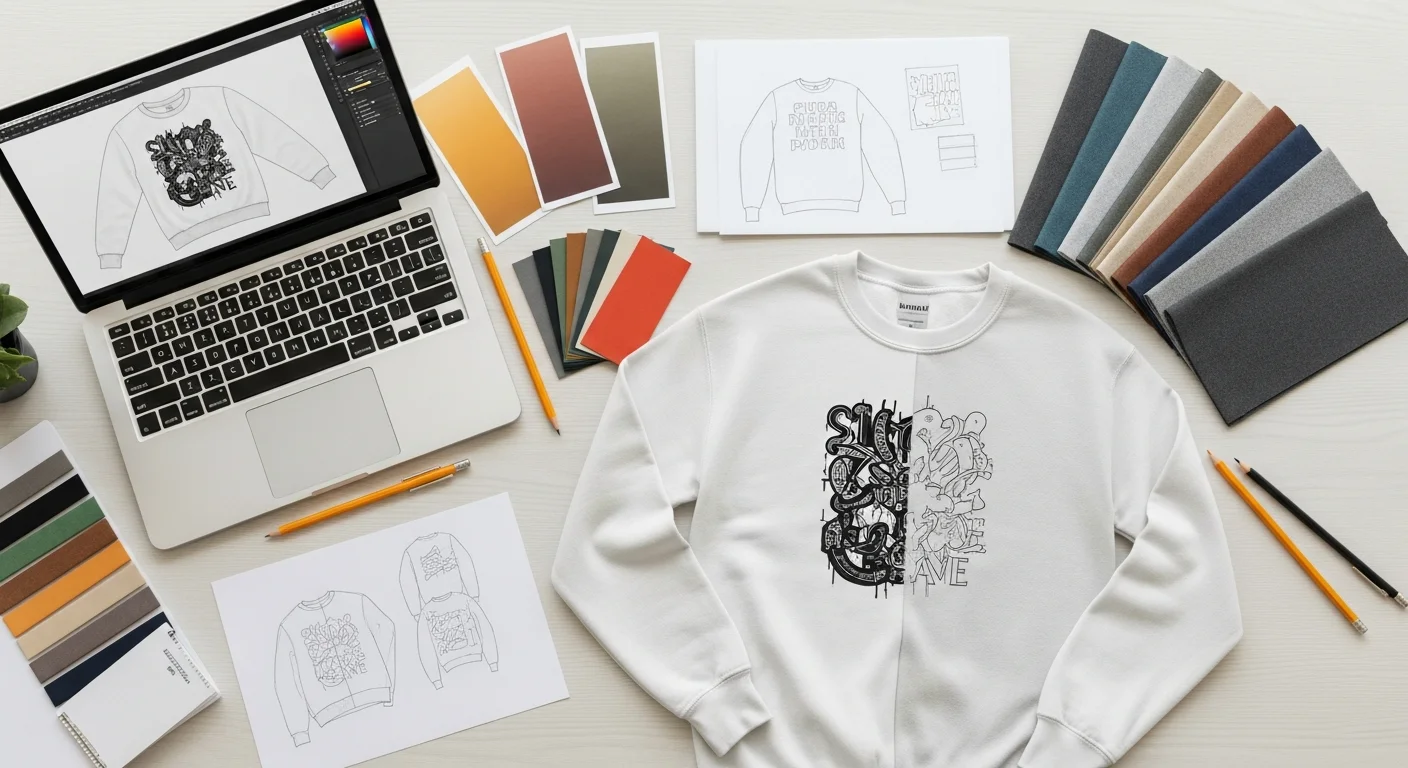
Step 4: Typography and Graphics
When choosing fonts for your crewneck, prioritize readability on textured fabric. Bold sans-serif fonts reproduce reliably across all print methods. Script fonts work but need to be sized generously to prevent thin strokes from disappearing into the fleece texture.
For graphics, use high-resolution files (300 DPI minimum) in PNG or vector format. Simple, bold designs with strong contrast between elements translate best to fleece fabric.
Step 5: Using the Online Design Tool
Our design tool lets you visualize your crewneck design in real time. Upload your artwork, add text, adjust placement, and see a mockup before ordering. The tool supports drag-and-drop positioning, color changes, and layer management so you can experiment freely.
Step 6: Preview, Proof, and Order
Always review a digital proof before finalizing your order. Check spelling, color accuracy, and placement alignment. For orders over 24 units, consider ordering a single sample first to verify the design in person before committing to the full run.
Pro Tips for First-Time Designers
Keep file formats in mind. Vector files (AI, SVG, EPS) scale without quality loss and are preferred for screen printing. Raster files (PNG, JPEG) work for DTG but must be at least 300 DPI at print size. RGB color mode for DTG, Pantone or CMYK for screen printing.
Frequently Asked Questions
What is the minimum print size for a crewneck sweatshirt?
For screen printing, the minimum is typically 1 inch in height for text and simple shapes. For DTG, fine details as small as 0.5 inches can be reproduced, though larger designs always look more impactful on the broad crewneck canvas.
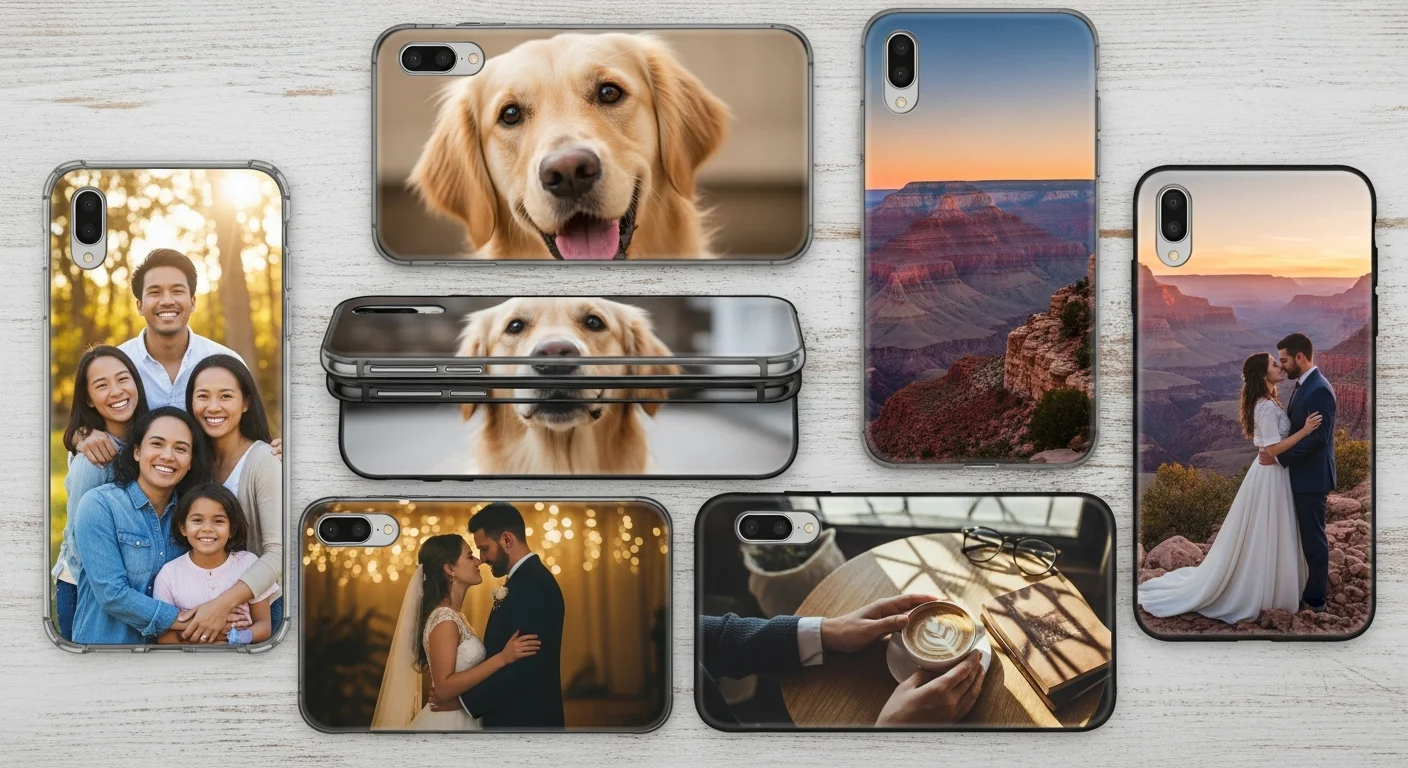
Can I use photographs on a custom crewneck?
Yes, DTG printing handles photographic images well on lighter-colored sweatshirts. For dark garments, the white under-base slightly mutes colors but still produces good results. Ensure your photo is at least 300 DPI at the intended print size.
How do I upload my own design?
Use our online design tool to upload PNG, JPEG, SVG, or PDF files. The tool automatically positions your artwork on the sweatshirt template and lets you adjust size, rotation, and placement before ordering.
Share this article
Written by
Jordan Reeves
Brand Experience Strategist at RareCustom. BFA in Graphic Design from Parsons School of Design with 8+ years helping brands craft visual identities. Specialist in color theory, layout composition, and design systems.