How to Make Custom Keychains: DIY Methods & Online Design Tool Tutorial
Learn how to make custom keychains using DIY methods like resin casting, shrink plastic, and Cricut cutting, plus a step-by-step tutorial for using online design tools to create professional-quality custom keychains.
Priya Shankar
Community Manager at RareCustom. Priya shares DIY keychain techniques and online design tool tutorials to help creators and hobbyists make professional custom keychains.
Making custom keychains is one of the most accessible creative projects you can take on — whether you want to create a single personalized gift, build a small batch of merchandise for your brand, or launch a full-scale product line. The path you choose depends on your goals, budget, and the level of quality and consistency you need. DIY methods like resin casting, shrink plastic, and Cricut cutting let you create keychains at home with minimal investment, while professional online design tools and print-on-demand services enable you to produce polished, production-grade custom keychains without any specialized equipment or craft experience.
This guide walks you through both approaches in detail. First, we cover the most popular DIY keychain-making methods, including the materials, tools, and techniques involved in each. Then, we provide a step-by-step tutorial for using online design tools to create professional custom keychains that are manufactured and shipped directly to you. Whether you are a hands-on crafter or prefer the convenience of professional production, you will find a method here that fits your needs.
DIY vs Professional: Which Approach Is Right for You
Before diving into specific methods, it helps to understand the fundamental trade-offs between DIY and professional production. DIY keychain-making is ideal for small quantities of one to fifty units, one-of-a-kind designs, handcrafted gifts, and situations where the making process itself is part of the value — craft fairs, art projects, personalized presents. The per-unit cost can be very low for simple materials like shrink plastic, but the time investment per keychain is significant, and achieving consistent quality across multiple units requires practice and patience.
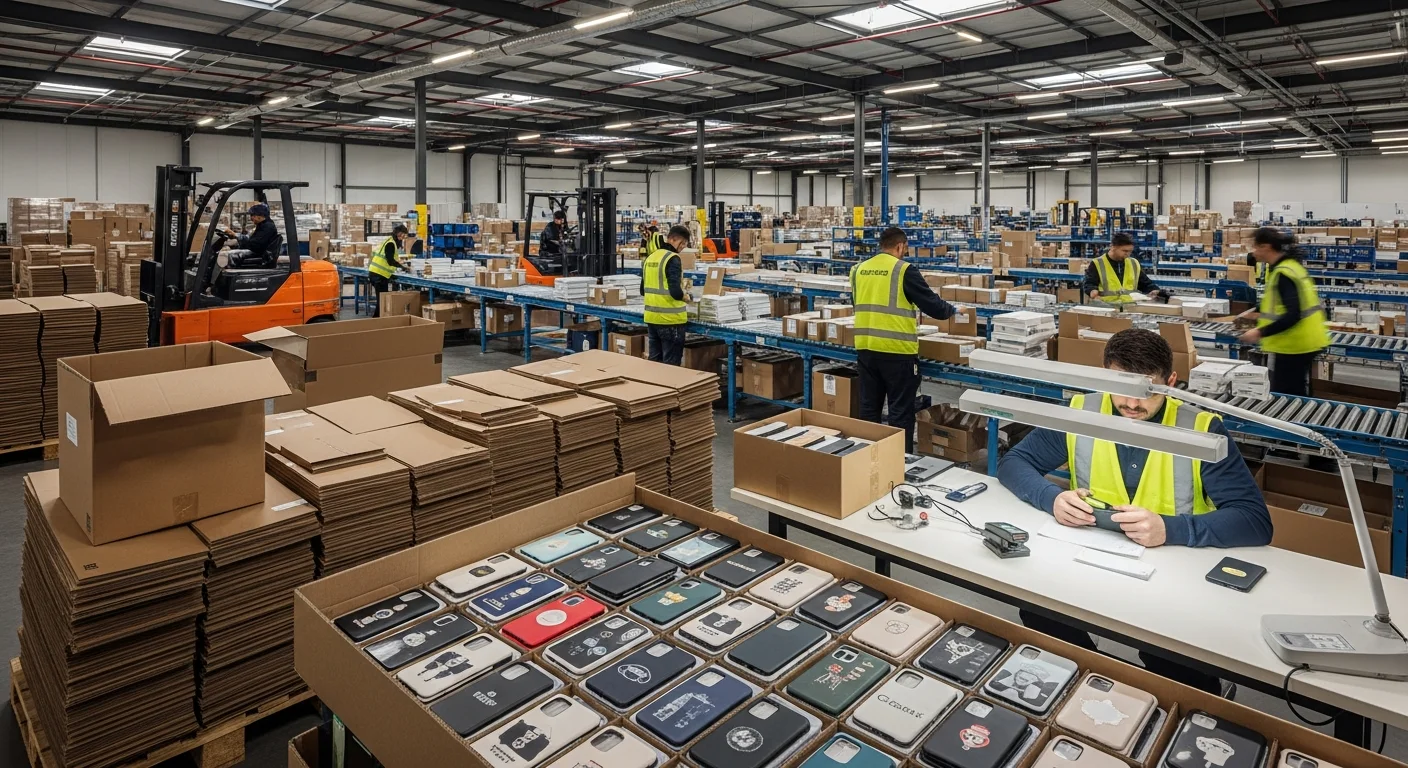
Professional production through an online design tool and manufacturing service is the right choice for quantities above fifty units, brand merchandise, promotional products, retail resale, and any application where consistency, durability, and professional finish quality are important. The per-unit cost is higher for very small quantities but drops dramatically at scale, and the time investment shifts from making each keychain by hand to designing once and letting the manufacturer handle the rest.
Many keychain creators start with DIY methods to develop their designs and validate demand, then transition to professional production when they are ready to scale. The two approaches complement each other well.
DIY Method 1: Resin Casting Keychains
Resin casting is one of the most popular DIY keychain methods because it produces glossy, professional-looking results with embedded elements like glitter, dried flowers, photographs, and small charms. The basic process involves mixing two-part epoxy resin, pouring it into a silicone mold, adding your decorative elements, and allowing the resin to cure for twelve to twenty-four hours.
Materials needed: Two-part epoxy resin (art-grade), silicone keychain molds, mixing cups and stir sticks, pigment dyes or mica powders, decorative inclusions (glitter, dried flowers, printed images sealed with a clear coat), keychain hardware (eye screws, split rings, lobster clasps), a heat gun or butane torch for removing air bubbles, and protective equipment (gloves, ventilated workspace).
Process overview: Mix the resin according to the manufacturer's ratio — typically one-to-one by volume. Add pigments or leave clear. Pour a thin base layer into the mold. If embedding a printed image, place it face-down on the base layer once it begins to gel. Pour the remaining resin to fill the mold. Use a heat gun briefly over the surface to pop air bubbles. Allow to cure fully — typically twelve to twenty-four hours at room temperature. Demold, insert eye screws, and attach hardware.
Best for: Decorative keychains with embedded elements, photo preservation keychains, nature-inspired designs with real flowers, and small-batch artisan products. Not ideal for mass production due to long cure times and batch-to-batch variability.

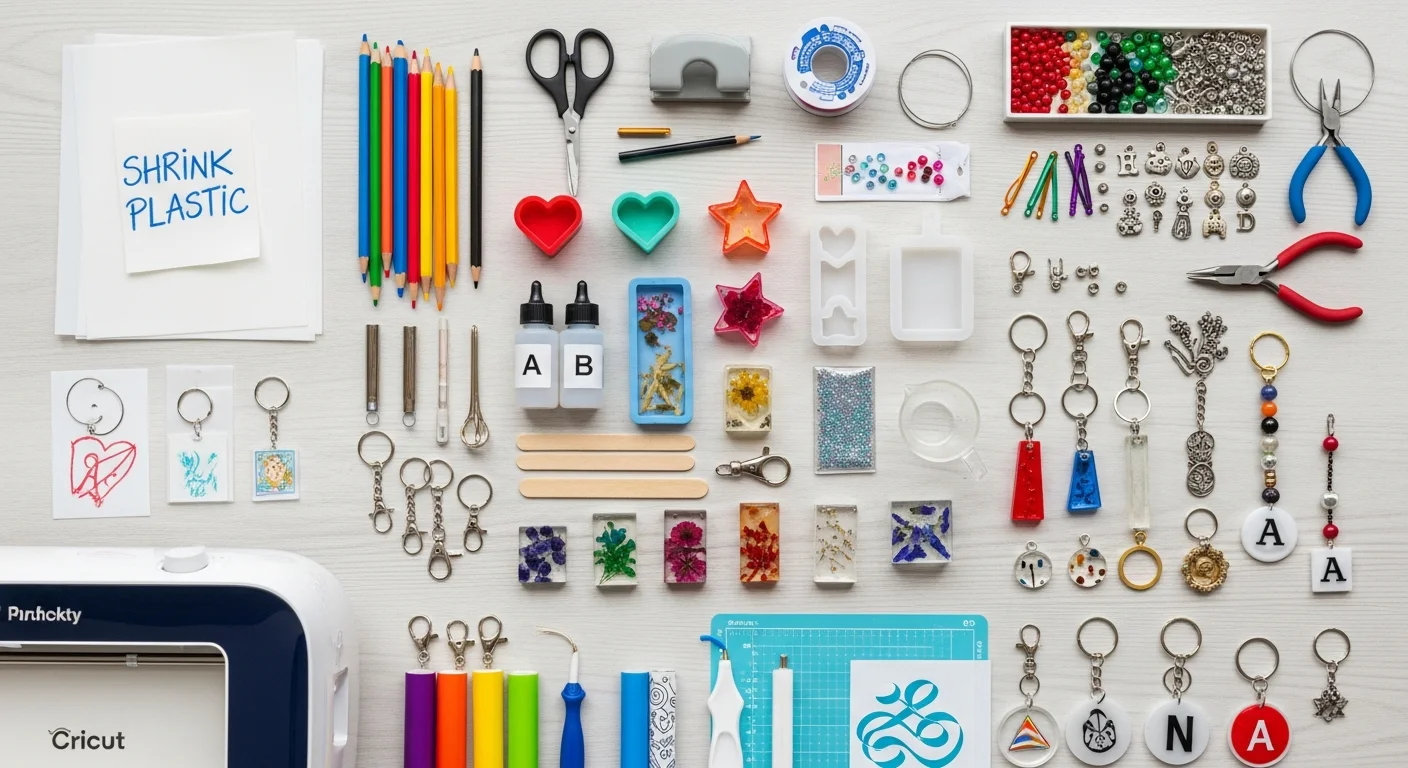
DIY Method 2: Shrink Plastic Keychains
Shrink plastic — also known by brand names like Shrinky Dinks — is an incredibly accessible and affordable DIY keychain material. You draw, stamp, or print your design on a flat plastic sheet, cut out the shape, punch a hole for hardware, and bake it in a standard kitchen oven. The heat causes the plastic to shrink to approximately one-third of its original size while becoming thicker and more rigid, resulting in a sturdy, colorful keychain.
Materials needed: Shrink plastic sheets (available in clear, white, and frosted), colored pencils, permanent markers, or an inkjet printer with compatible shrink sheets, scissors or craft knife, hole punch, baking sheet and parchment paper, keychain hardware.
Process overview: Design or draw your artwork on the shrink plastic sheet — remember that it will shrink to approximately one-third size, so draw large. Cut out the shape and punch a hole near the top edge. Place on a parchment-lined baking sheet and bake at three hundred twenty-five degrees Fahrenheit for two to three minutes. The plastic will curl, flatten, and shrink. Once cool, it will be rigid and slightly thicker. Attach hardware through the punched hole.
Best for: Kids' craft projects, quick personalized gifts, prototype testing of keychain shapes and designs before professional production, and small-batch artisan keychains. The handmade aesthetic is part of the charm but may not suit professional or corporate applications.
DIY Method 3: Beaded and Wire Keychains
Beaded keychains use various types of beads — glass, acrylic, wooden, gemstone, letter beads — strung on wire, cord, or chain to create decorative and personalized designs. Letter beads allow you to spell out names, words, or short messages. The technique requires no special equipment beyond basic jewelry-making supplies.
Best for: Name keychains, friendship keychains, party favors that double as craft activities, and personalized gifts with a handmade feel. Not suitable for logo reproduction, photo keychains, or applications requiring precise consistency across units.
DIY Method 4: Cricut and Vinyl Cut Keychains
If you own a Cricut or Silhouette cutting machine, you can create custom keychains from acrylic blanks, faux leather sheets, or layered vinyl. The cutting machine precisely cuts shapes and lettering from adhesive vinyl, which is then applied to keychain blanks. Multi-layer vinyl designs allow for complex, multi-color graphics that would be difficult to achieve by hand cutting.
Best for: Small-batch production with a semi-professional finish. Cricut keychains can look remarkably polished, especially when using high-quality acrylic blanks and premium vinyl materials. This method bridges the gap between pure handcraft and professional production for quantities of twenty to one hundred units.
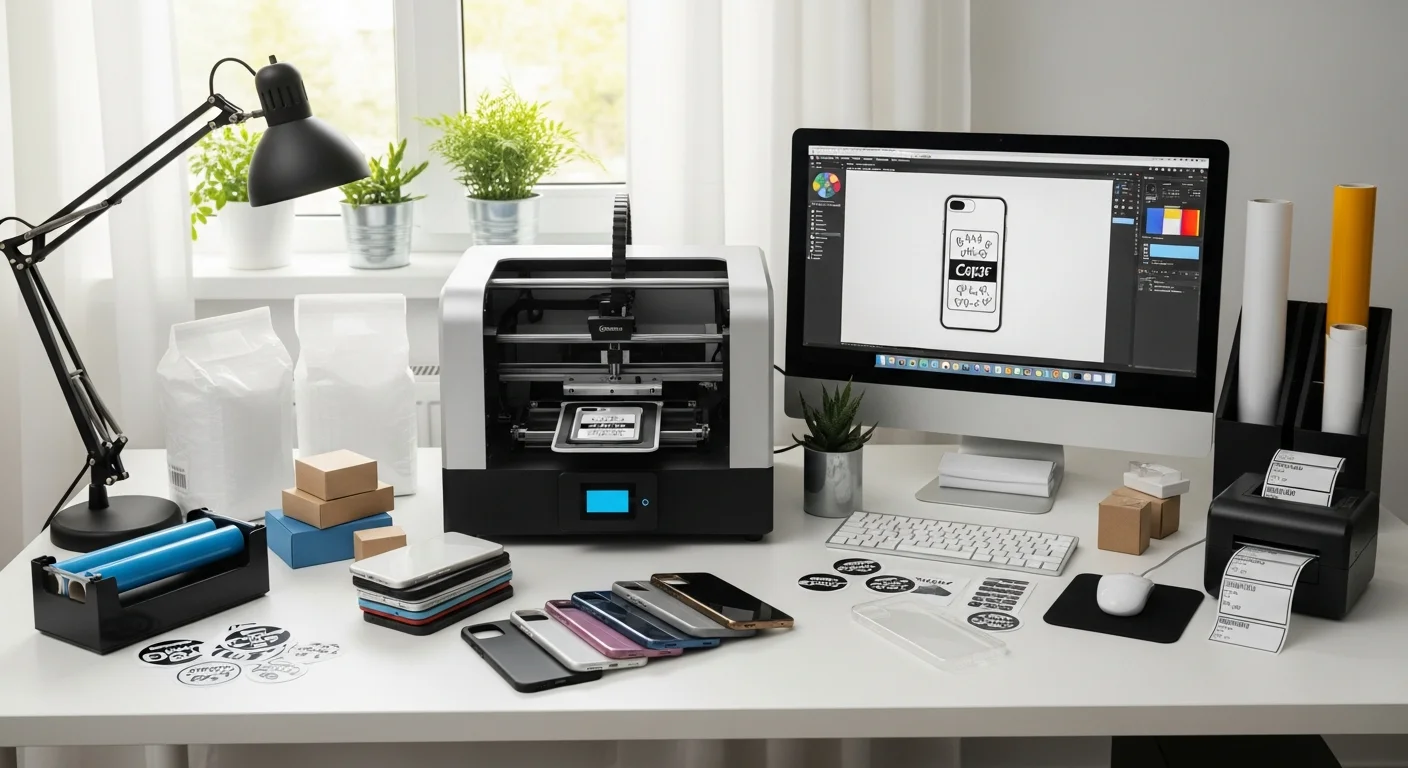
Using an Online Design Tool: Step-by-Step Tutorial
For most people, the fastest and most reliable path to professional custom keychains is using an online design tool that guides you through the entire creation process. Here is a step-by-step walkthrough of how the process works:
Step 1: Choose your product. Select the keychain type and material from the product catalog. Options typically include acrylic, metal, leather, PVC, and specialty materials. Each material page shows available sizes, shapes, and decoration methods. For a detailed breakdown of acrylic options specifically, our acrylic keychain design guide covers everything from material types to printing techniques.
Step 2: Upload or create your design. Upload your existing artwork file — PNG, SVG, or AI format — or use the built-in design tools to create your keychain from scratch. The design tool provides text tools, shape libraries, and image editing capabilities that let you build professional designs without external software.
Step 3: Adjust and preview. Position your design within the keychain template, adjusting size, rotation, and placement. The tool displays a realistic mockup showing exactly how your finished keychain will look, including the chosen material texture and hardware. Preview both front and back if designing a double-sided keychain.
Step 4: Review and approve. Before adding to cart, review all specifications — material, size, quantity, print sides, finish options, and hardware type. Most platforms generate a final digital proof for your approval. Take a moment to verify that all text is correct, colors are accurate, and the design is properly positioned within the safe zone.
Step 5: Order and receive. Complete your purchase and receive order confirmation with estimated production and shipping timelines. Professional manufacturers handle all production, quality control, and packaging. Your finished keychains arrive ready to use or distribute.

Designing for Acrylic: Transparency, Bleed, and White Ink
Acrylic keychains are the most popular material for custom production, and designing for them requires understanding a few unique considerations. Because acrylic is transparent, your design file needs a transparent background — saved as a PNG with alpha transparency. The laser cutter uses the outer edge of your artwork as the cut line, trimming the acrylic to the exact shape of your design.
The white ink layer is critical. On transparent acrylic, colors printed without a white backing layer appear washed out and translucent. Your manufacturer will apply a white ink layer behind your colored artwork to ensure vibrant, opaque reproduction. Make sure your design file clearly indicates which areas should be backed with white and which should remain transparent — the transparent areas are where the clear acrylic shows through and become part of the design aesthetic.
Always include a bleed area of two to three millimeters beyond your intended cut line. This margin accounts for slight variations in laser cutting alignment and prevents white edges from appearing around your design. Keep all critical elements — text, faces, important details — at least two millimeters inside the cut line.
Designing for Metal: Vector Files and Engraving
Metal keychains typically use laser engraving or enamel fill rather than full-color printing. For laser engraving, supply your design as a vector file in AI, EPS, or SVG format. Vector artwork scales cleanly to any size and produces crisp, sharp engraving lines. Raster images can be engraved but may show pixelation or uneven tonal reproduction. For a comprehensive comparison of all keychain decoration techniques, visit our decoration methods guide.
For enamel-filled metal keychains, your design must use distinct, enclosed color areas separated by raised metal borders. Each enclosed area is filled with a single enamel color. Gradients and photographic imagery cannot be reproduced in enamel — the design must be flat-color with clearly defined boundaries. Think of it like a coloring book where each section gets one solid color.
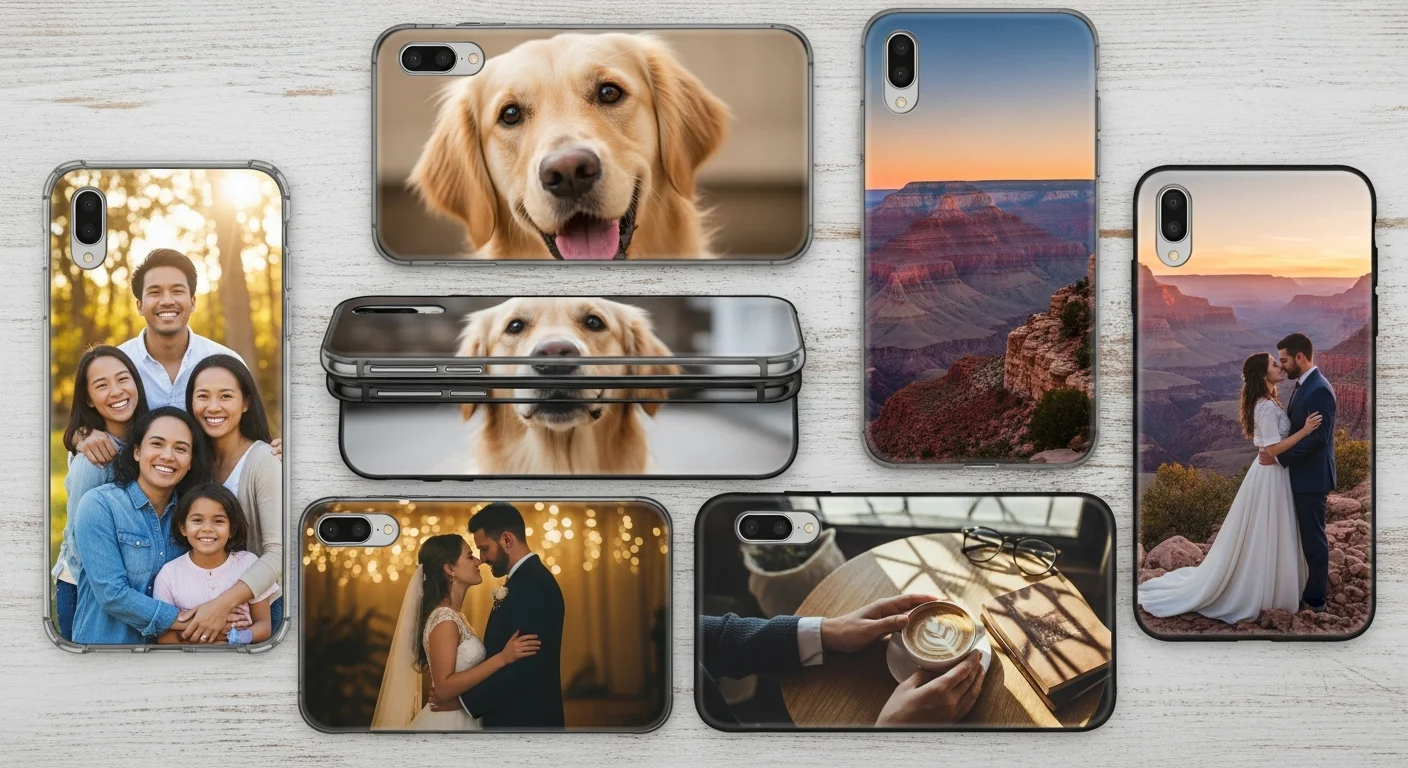
Photo Keychain Tips
Photo keychains — featuring family portraits, pet pictures, travel memories, or couple photos — are among the most emotionally impactful custom keychain types. To ensure the best reproduction quality, start with a high-resolution source image of at least 300 DPI at the actual print size. A two-inch keychain needs an image at least 600 pixels wide for clean reproduction.
Crop tightly around the primary subject. A full-body photo shrunk to fit a two-inch keychain will make faces unrecognizably small. A head-and-shoulders crop or a close-up of a pet's face reproduces with much greater detail and emotional impact at keychain scale. Avoid images with busy backgrounds that compete with the main subject — simplicity reads better at small sizes.
Adding Text and Names to Keychains
Personalized text — names, dates, short messages, coordinates — is one of the most popular customization options for keychains. When adding text, use bold, clean fonts at the largest size that fits your layout. Thin, decorative, or script fonts can become illegible at keychain scale, especially when reproduced through laser engraving where fine serifs may not engrave cleanly.
As a general rule, text on keychains should be at least eight points for fine print and twelve points or larger for primary text like names and headlines. Test legibility by printing your design at actual keychain size on paper and reading it from arm's length. If you cannot read it comfortably, increase the font size or switch to a bolder typeface.

File Format Guide for Custom Keychains
Submitting your artwork in the correct file format is essential for clean reproduction. Different keychain types and decoration methods have different file requirements:
PNG (with transparency): The preferred format for acrylic keychains. Transparent background defines the cut shape. Submit at 300 DPI minimum. Supports full-color, photographic designs. If exploring custom shapes beyond standard options, our shaped keychains guide explains how die-cut files should be prepared.
SVG (Scalable Vector Graphics): Ideal for logo-based designs, text designs, and any artwork that needs to scale without quality loss. Required for laser engraving on metal keychains. Can be opened and edited in free tools like Inkscape.
AI (Adobe Illustrator): The professional standard for vector artwork. Offers the most control over layers, colors, and cut lines. Preferred by manufacturers for complex, multi-element designs and keychains requiring separate artwork and cut-line layers.
JPEG: Acceptable for photo-based designs but not ideal because JPEG does not support transparency. If submitting a JPEG for an acrylic keychain, the manufacturer will need to add a cut line manually, which may result in a less precise shape match. Convert to PNG with transparency whenever possible.
Common Design Mistakes to Avoid
Whether you are using DIY methods or professional production, these common mistakes can undermine the quality of your finished keychains:
Low resolution artwork: Images pulled from social media, screenshots, or web searches are almost always too low in resolution for print. The glossy surface of an acrylic keychain makes pixelation painfully obvious. Always source or create artwork at 300 DPI minimum at the actual print size.
Missing bleed area: Designs that extend exactly to the intended edge with no bleed margin risk showing white slivers or uneven edges after cutting. Add two to three millimeters of bleed beyond your cut line and keep critical elements two millimeters inside it.
Forgetting the white layer on acrylic: Without a white ink backing, colors on clear acrylic appear translucent and washed out. Always ensure your design file includes a white layer behind all colored areas that should appear opaque.
Text too small or too thin: Keychains are small, and text that looks fine on screen can become illegible at actual print size. Use bold, clean fonts and test at actual size before approving production.
Over-complicating the design: The temptation to fill every square millimeter with detail works against you on a small surface. Leave breathing room. Negative space is a design feature on keychains, not wasted space. Simple, focused designs with clear focal points always outperform cluttered compositions at keychain scale.

Whether you choose a hands-on DIY approach or the convenience of professional online production, making custom keychains is a rewarding creative process that turns your ideas into tangible, functional accessories. Start with the method that matches your current needs — and as your designs evolve and demand grows, the professional tools and production services are always available to scale with you.
Share this article
Written by
Priya Shankar
Community Manager at RareCustom. Priya shares DIY keychain techniques and online design tool tutorials to help creators and hobbyists make professional custom keychains.